
With all the chaos going on in today’s world, many folks are looking to stock up on the basics. One of those basics, at least in most homes, is bread. The bread itself tends to go bad quickly, so stocking up on the ingredients seems to make more sense. Yeast is one of those bulk items that can be difficult to store long-term, but there are ways it can be done.
Here are the 10 safest ways to store yeast in bulk.
- Break into smaller portions.
- Use zipper-type plastic bags
- Use heat sealer with food storage bags
- Store in a glass jar
- Store in Tupperware container
- Store in reusable silicone food storage bags
- Store in cabinet or pantry
- Store in a root cellar
- Store in refrigerator
- Store in freezer
First, we need to know what is damaging to yeast to avoid any problems. Then, we need to identify how long yeast is good for. Is there a way to check if it is still viable before using it? Finally, what are the safest recommended practices? What if your yeast is no longer usable, are there other methods to leaven bread?
What is Yeast Susceptible To?
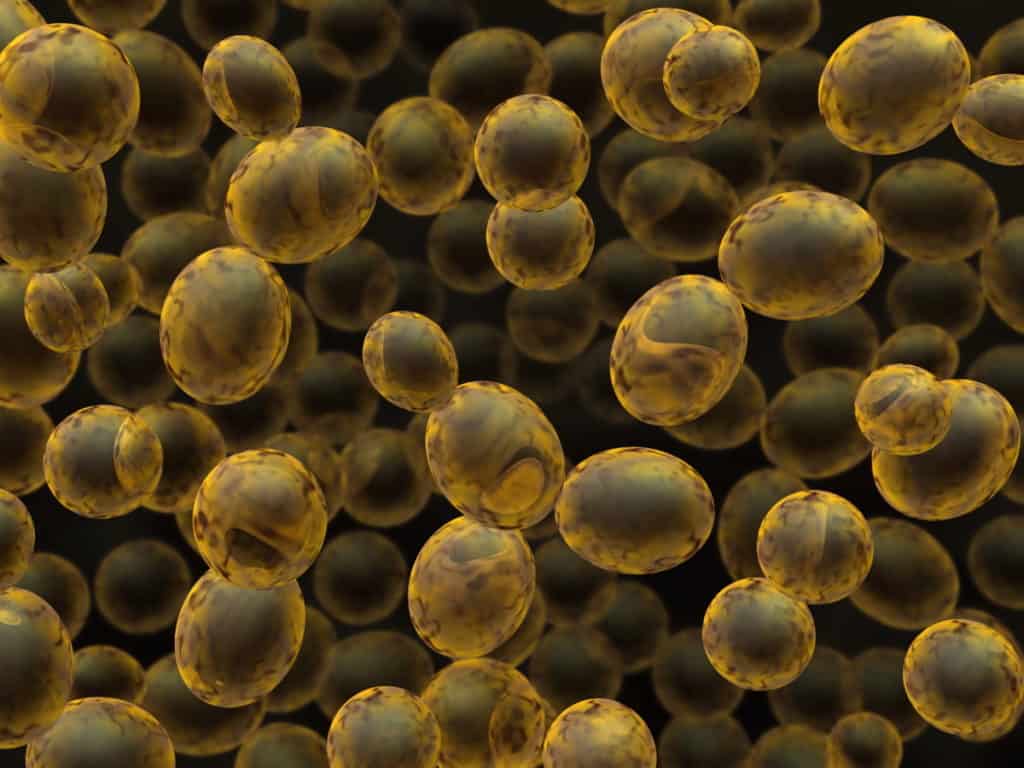
Yeast, which is an egg-shaped, single-celled fungus, is microscopic in size. To live, it ferments sugars and starches into carbon dioxide and alcohol. Carbon dioxide is what we use to make bread rise. The alcohol is used in alcoholic beverages, like beer and wine. Yeast is a good fungus.
Commercial yeast comes in 2 different forms. There is Brewer’s yeast and baker’s yeast. Brewer’s yeast is a wet yeast that is used primarily in beer-making. Baker’s yeast comes in 2 forms, fresh and active dry.
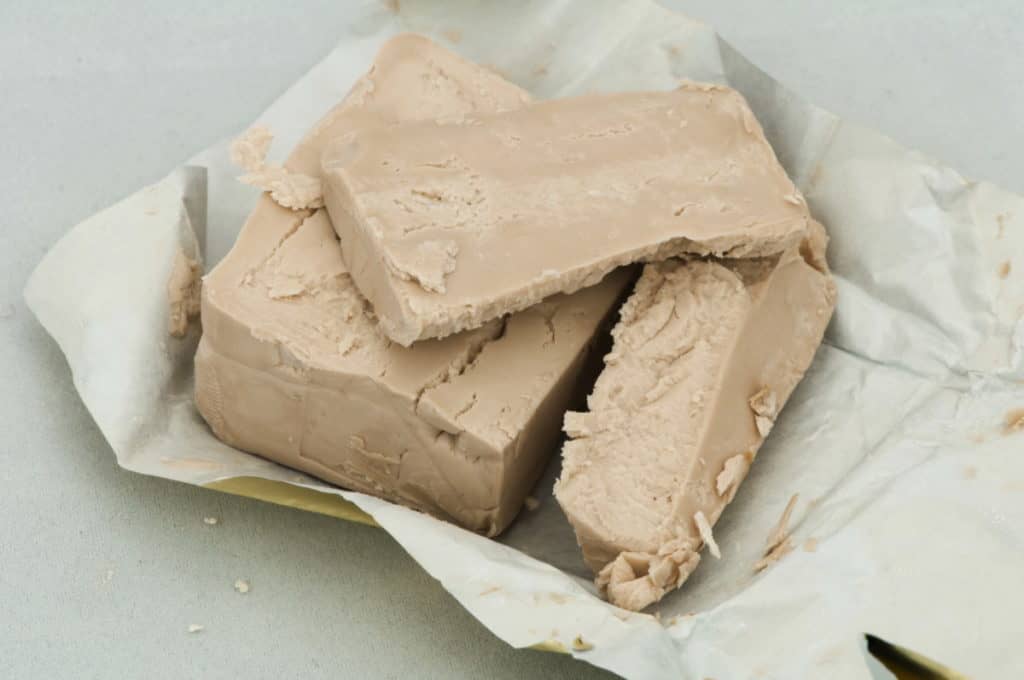
Fresh yeast
Based on just the name, you would think this would be the best possible form you can use. But that depends on your goal. Fresh yeast is also known as wet, cake, or compressed yeast. It comes in small square cakes that are composed of 70% moisture. They are very perishable and are generally used only by professional bakers. Obviously, due to their perishable nature, this is not a good bulk storage version.
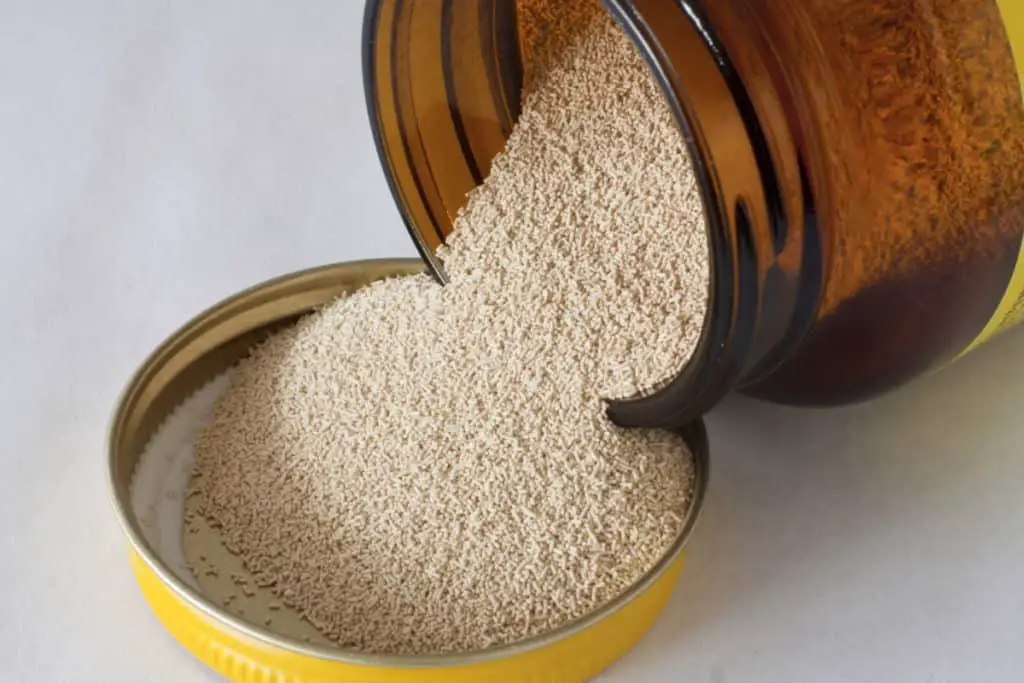
Dry yeast
Dry yeast also comes in 2 versions. There is “active” dry yeast and “instant” dry yeast. The biggest difference is the granule size.
Instant dry yeast is also known as “rapid rise” yeast. It does NOT need to be dissolved in water prior to use, you can add it directly to other ingredients. Instant dry yeast includes additives and enzymes that allow bread to rise in half the time it takes active dry yeast.
Active dry yeast is dormant until it has been “proofed”. Proofing the yeast means adding it to lukewarm water (around 100°F) and allowing it to dissolve. This activates the yeast and then you can add it to the remainder of your ingredients.
When you go to your local market to purchase yeast, you are buying a dry yeast product. Both instant and active are readily available commercially. In order to thrive, yeast needs 3 components. Those are food, warmth and moisture. Remove any of these, and the yeast will not grow. These are the yeast killers and in order to safely store our yeast, these are the conditions we have to control.
How Long is Yeast Viable?
The yeast you guy in the market, whether in jar or package form, are marked with a “best if used by date” stamped on them. This date is 2 years from the date it was packaged. That is assuming packing remains intact. Intact packaging should be kept in a cool, dry location. A cupboard can do nicely in this situation. Another good option can be your refrigerator or freezer. Remember, it needs warmth to grow.
Once the packaging has been opened, most professionals recommend use within 4 months if it’s been kept in a cupboard or up to 6 months if it has been frozen. Yeast can, in fact, expire. That is to say, the yeast cells are no longer active. Non-active yeast means no rise to your bread. How long this takes is debatable and dependent on conditions.
Is Your Expired Yeast REALLY Expired?
There is a test you can perform to check if that “old” yeast is still usable or not. Take a 2¼ teaspoons of yeast (1 package if you purchase that way) and place it in ¼ cup lukewarm water. Add another 1 teaspoon of sugar to the mixture, to give the tired old yeast cells a little boost and wait about 10 minutes. Are you getting a foaming action?
If you are, the yeast cells still have a spark in them. Honestly, you may not get the raising action you want and may have to use more yeast than usual, but it is still usable. If you get no action after 10 minutes, it’s time to toss that batch and get some fresher yeast.
Best Methods for Storing Dry Yeast in Bulk
First, let’s establish what we’re going to consider “bulk”. For our purposes, we’re looking at one pound or more of yeast, and that’s going to make you a lot of bread.
1. Divide into Smaller Portions. The amount of yeast used in a loaf of bread varies by cook and recipe. For ease of math, we’re going to use a 1 package recipe. 1 teaspoon of active dry yeast weighs 2.83 grams and 1 package of yeast weighs 7 grams, so there are about 2.5 teaspoons of yeast in a package.
There are 453.592 grams in a pound. That means there are 160.28 teaspoons of yeast in a 1-pound container. Continuing the math, that 1-pound container of yeast will yield about 65 loaves of bread. Since you probably won’t want to make 65 loaves at any given time, let’s first break up that bulk yeast into smaller portions.
Now that you have the math done for you, it will be easier to determine how much you want in each container. Enough for 5 loaves? Maybe 10? You aren’t going to use it all at once, necessarily, but by portioning the yeast, you reduce the risk of losing all of it at one time. Remember, once the packaging has been opened, the viability time is shortened.
In fact, it is shortened significantly. Without taking additional steps, you’re talking about 6-8 months versus 2 years or more. Each of those portions can now be stored in whatever method you find most suitable for your use and lifestyle.
2. Zipper-type Plastic Bags. You can store your dry yeast safely in zipper-type plastic bags or baggies, if you choose. It is important to make sure you press all of the air possible out of the bags before storing to reduce the risk of contaminants and extend shelf life.
This option offers the benefit of allowing you to write on the bag exactly what date they were placed into storage, giving you a better idea of appropriate use-by dates or, perhaps more simply put, just how old that yeast is.
Be sure you keep your portion sizes moderate. When using this method, you will take what you need from the bag and reseal the bag as quickly as possible. The less time the bag is open, the less time you have for the yeast to become compromised.
3. Heat Sealer. If you don’t like those Ziploc sort of bags, you can do it yourself. Divide your bulk yeast into smaller portions, then place them in a or comparable bag. Online, you can buy portable heat sealers. You simply press as much air as possible out of the bag, then use the sealer to seal the bag shut.
Sealers are really inexpensive. This one is on Amazon for around $15. You can also buy reusable BPA-free sealable bags if you choose. They are also available on Amazon with a price tag about $7 for an 18 count of quart-sized bags.
DO NOT use a vacuum sealer! The particles are too small, and the chances are high that you would vacuum up your little yeast friends. Once again, just like with the plastic zip-type bag, you will remove only what you need at a time. Re-seal with your sealer quickly to prevent compromising the yeast.
4. Glass Jar. An airtight glass jar is another wonderful way to store your dry yeast safely. The hardest part, honestly, is keeping the air out. If you have purchased your yeast already in jars, it is pretty straight-forward. If you purchased a bulk bag, you’ll need to consider something like a small canning jar or the equivalent. You don’t need to vacuum seal it, just keep any additional air from entering the jar.
According to sources, a 1-pound bag of bulk yeast will fill 4 of the 4-oz yeast jars you buy in the market. Since these jars are already designed for yeast storage, they may be a perfect container to consider. This type of container can be stored just about anywhere. However, once opened, it is generally best if used within 6 months, unless you take additional steps like storing in the refrigerator or freezer.
5. Tupperware container. Tupperware is a line of food storage containers that you can “burp” to remove excess air. The lids grip quite tightly, keeping air and moisture out of the bowl or container. They stack beautifully and the lids and bowls are interchangeable.
Honestly, any brand of food storage container that offers these features will work just as well. Tupperware is just kind of the brand-name most people are familiar with. If this is your choice, you will need to select the smallest size container that meets your portion needs. The less air space in the container, the better off you are.
Then, you will want to “burp” the lid completely. This is best done by putting the lid on the bowl, starting at the side opposite the tab. Press the lid on with your fingers around the circumference of the bowl. When full on, put one hand in the center of the lid and use the other hand to gently pull up on the tab. This will allow as much air as possible to escape the container. Your yeast is probably good in this storage container for around 6 months or so. As it is not fully airtight, I would be hesitant to use this method if you’re going to put your yeast in the freezer.
6. Reusable silicone storage bags. With the bad wrap (pun intended) that plastic bags are getting, many people are converting to reusable silicone storage bags. Your yeast storage is a good use of these nifty little bags. They are fairly inexpensive, reusable, come in assorted sizes and are good from freezer to microwave. Not that you’re going to microwave your yeast, but it’s nice to know the bags have some serious temperature range.
Again, portion size is key, so use bags that are sized appropriately. After adding your yeast portion, press out all the air you can and simply “zip” the bag shut. These bags have an airtight seal, are 100% leakproof and easy to clean. Simply turn them inside out and run them through the dishwasher. Let them dry thoroughly before reuse.
These little gems are available on Amazon for around $16. That price includes 2 large and 4 medium sized bags. Search farther if you want smaller bags.
7. Cabinet or pantry. If you live in an area that isn’t overly humid, you can simply store your yeast in a cabinet or pantry area. Again, you want to make sure it stays dry and not too warm. Our yeast friends need both warmth and moisture to grow, so if we manage those, we manage the problem.
Yeast also does best when kept out of light. That’s why the jars are dark, and the packages are generally foil-lined. Keeping your yeast in a cabinet or pantry will keep it fresh longer, particularly when stored in air-tight containers like baggies or jars.
8. Root Cellar. This is an oldie, but a goodie. Many people no longer have access to a root cellar, or the land on which to build one. However, if you happen to be so lucky to have one, a root cellar is a really good place to store bulk yeast. A root cellar utilizes the naturally cool and damp properties found in soil to help keep foods fresh for a longer period of time.
It is not the equivalent of a refrigerator but is surprisingly effective and VERY low maintenance. It maintains cooling and humidity levels comparable to the produce drawer in your refrigerator. Temperature and light are well controlled. Humidity is a little higher than some other options, but remember, moisture is only 1 of the 3 necessary ingredients for your yeast.
The best part, no electricity or other on-going expenditures to worry about. If your home does not have a root cellar, but you’re interested in learning more, there are many resources available online to build one yourself. With a root cellar, once again your will want to keep your bulk yeast in portioned zipper-style plastic bags or glass containers.
9. Refrigerator. Depending on space and preference, your refrigerator is an ideal place for long-term storage of your bulk yeast containers or bags. Even opened bags or containers of yeast will last up to 6 months beyond their “expiration” date when stored in the refrigerator. Just make sure to clip the top shut or heat seal it closed to avoid contamination.
However, for longer term storage, place your unopened containers, in zipper-lock bags or jars, in the refrigerator. It will keep your yeast nice and fresh for literally 1-2 years, or longer.
10. Freezer. The longest-lasting storage facility for your dry-yeast is your freezer. Freezing puts the yeast cells in a state of “suspension.” As long as you keep your yeast in an airtight container, those little babies will last for years.
Some experts recommend allowing the yeast to sit at room temperature for 30 to 45 minutes before using, if they have been stored in the freezer. Others say that isn’t necessary. I always let it sit and warm up. Why? They are living organisms, therefore the opportunity to achieve a normal temperature is probably in their interest. How long will it last in the freezer? Over 2 years is not unreasonable.
Yeast Substitutes
So, you’re right in the middle of preparing something yummy and you realize the yeast you have is no longer growing properly. What to do? There are other options available to help that dough rise. We’ll call them “yeast substitutes”.
Yeast Substitute 1
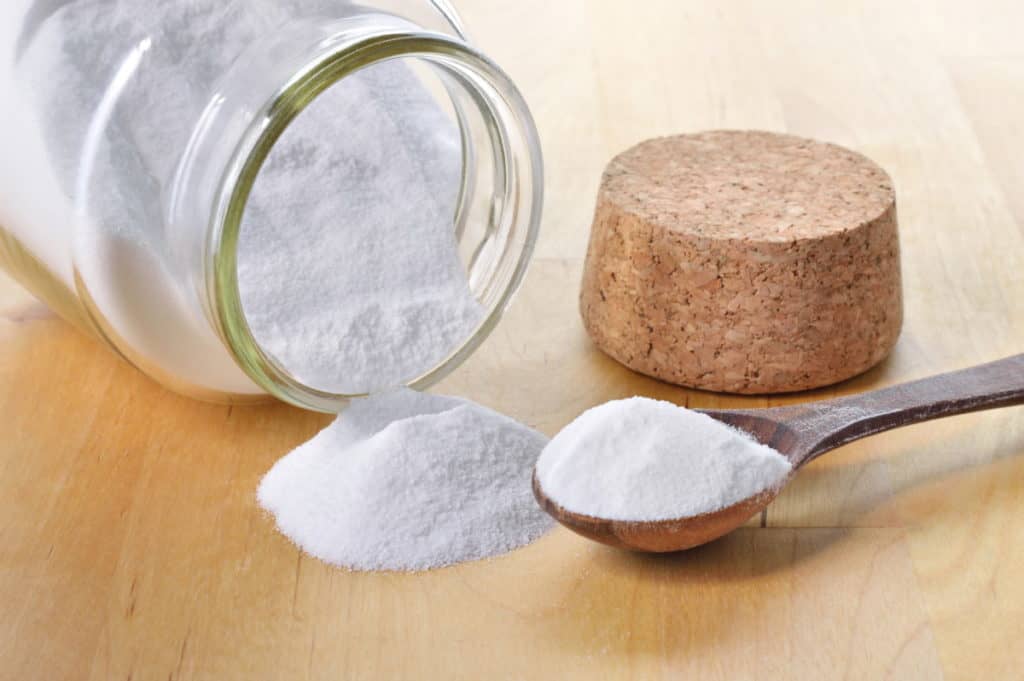
Baking soda. That’s right, simple baking soda, mixed with an acid will cause your bread to rise. As baking soda is a base, mixing it with an acid such as lemon juice, vinegar or buttermilk (yum) will cause a natural chemical reaction. The reaction gives off carbon dioxide as a by-product. This is the same carbon dioxide that yeast gives off when it ferments sugars and carbohydrates.
The carbon dioxide causes the dough to rise. It is important to note that this causes a single leavening reaction only, meaning the dough will rise, but will not rise again during the cooking process. You will need to pop it in the oven shortly after the addition of the baking soda mixture.
You want your mixture in the same ratio as you would use for yeast. So, if your recipe calls for 1 Tablespoon yeast, replace it with ½ Tablespoon of baking soda and ½ Tablespoon of your acid of choice. Should your recipe already call for baking soda, you don’t reduce the amount called for. This baking soda is in addition to any other soda in the recipe.
Yeast Substitute 2
Baking powder. Baking powder is a combination of baking soda and cream of tartar. The cream of tartar is an acid in itself, so no additional acid is required. Simply add the baking powder with the rest of your dried ingredients. When you add your wet ingredients, the chemical reaction in the baking powder will automatically begin.

Again, this chemical reaction releases carbon dioxide as a by-product. Baking powder, unlike baking soda, is double-acting. The dough will rise initially, then will rise again when placed in the oven.
However, like the baking soda substitute, if your recipe already calls for baking powder, you will add additional baking powder for the rising action. Also like the baking soda substitute, you add an amount equal to the amount of yeast you would normally use.
Yeast Substitute 3
Sourdough starter. No, this isn’t an immediate problem solver, like baking soda or baking powder is. Sourdough starter takes at least 5-7 days to mature sufficiently to use. However, once established, it will last indefinitely if refreshed at least every 7-10 days. There are great sourdough starter recipes online, should you want to explore this option farther.
If you are going to use your sourdough starter in place of yeast, there are a few adaptations you need to make to your recipe. You replace 1 envelope of dry yeast with 1 cup of starter. Since the starter contains both water and flour, you will reduce the water in your recipe by ½ cup and reduce the flour by ¾ cup.
The super bonus of using this method is that you get great tasting bread and the starter is usable over and over, as long as you keep refreshing or feeding it. I will be the first the admit that none of these substitutes will yield the exact same results as yeast. Let’s be honest, what tastes as good as a hot, yeasty loaf of bread?
Do Substitutes Actually Work?
However, these substitutes will work, you will primarily notice a change in the overall texture of the bread. Who knows? You may actually like it better.
Other than sourdough starter, the provided substitutes are ingredients you probably already have in your cupboard. Additionally, they are inexpensive and store extremely well long-term.
If prepping is your intention, baking powder and baking soda actually survive long-term storage better than yeast. Just a little something to consider. Additionally, you will use them in other dishes, so they are more multi-purposeful than yeast.
Final Thoughts
I’ve given you 10 different ways to safely store bulk yeast. Honestly, the best practice is probably to combine some of those methods. Since the most effective method of long-term yeast storage is the freezer, I would probably get some of the silicone bags, in the smallest size possible. Why small? It will be easier to get more air out of the bag is there is a smaller air reservoir after the yeast is put in the bag.
Then, I would break up the bulk yeast into 4 or 6 portions. Put each portion in its bag and press as much air as possible out. You can either roll the bag or lie it flat on its side and push. Remember to keep the mouth of the bag elevated so you don’t push the yeast out with the air.
Don’t forget to label your bags or other container with the date you put it into storage. Otherwise, in a couple of years you will have no idea how long that yeast has been sitting there. I would then keep the bags in the freezer, pulling 1 out for the refrigerator. When that one was completely empty, then I would pull out the next bag. Depending on how much bread you make, this method could easily keep you in active yeast for 2 or more years. Not a bad time return on that 1-pound bag investment.
The other thing I would definitely do is keep extra baking powder on hand. Though I’ll admit the bread texture is a little coarser than yeast bread, baking powder stays good for a nice long time. It stores easily, is inexpensive and travels well. Whether you’re buying in bulk due to reduced cost or the desire to be prepared for any eventuality, cost and longevity are key in your decision making.
Keeping that in mind, I truly think reusable silicone bags are your best bet. Though your initial up-front cost is higher than plastic, the silicone bags are thicker and much more durable than the others. They stack well and fit in refrigerator or freezer with ease. If you’re storing in cabinets or pantry, you should expect no problem with vermin or insect infestation using the silicone bags, either. Happy Baking!