Skills & Know-How
Do First Aid Kits Expire? What to Check and When
In this guide
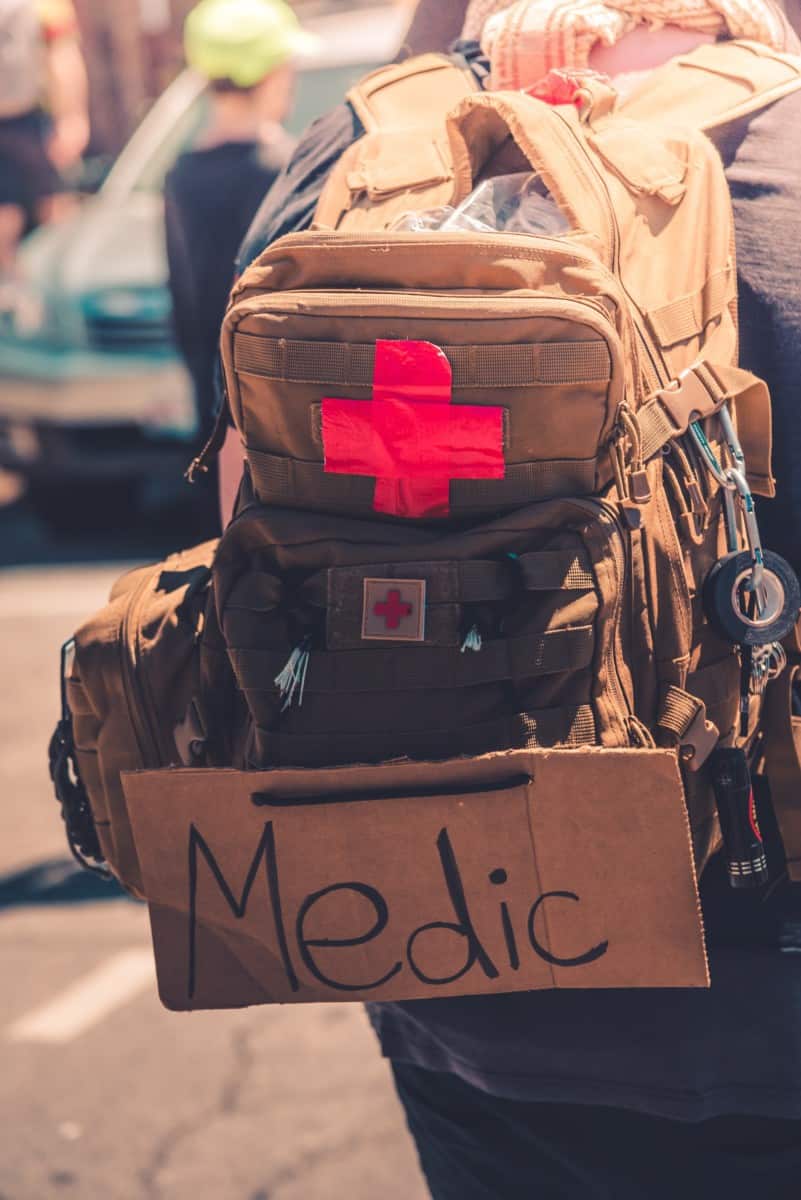
Yes, first aid kits expire. Most pre-made kits last 3 to 5 years from their manufacture date, but individual items expire faster: medications in 1 to 2 years, bandages and adhesives in 3 to 5 years. Check your kit every 2 to 3 months and replace anything past its date or showing damage.
Many of the items inside, like medications, batteries, ointments, and anything with adhesive, have a shelf life and stop working over time. Other items can degrade if they get wet, dirty, or damaged. The kit is only as good as the parts inside it, and those parts need a check now and then.
This article covers which items to watch for expiration dates, how to care for your kit, and a simple list of do’s and don’ts. Check your kit on a regular schedule and it will be ready when you actually need it.
Can first aid kits expire?
A first aid kit holds a lot of different items, and they age at different rates. Some have a clear expiration date. Others last a long time as long as you keep them in good shape. The simplest approach is to treat the whole kit as if everything expires and check every item on a regular basis.
That way nothing sits in the kit past its prime. Look through your kit every couple of months to check expiration dates and swap out anything that has passed. Check the more durable items at least once a year.
Most pre-made kits are built to last 3 to 5 years from the manufacturing date. Check the packaging on your specific kit for a better estimate of when to replace it.
Items that expire
These are the parts of your kit that will expire and need replacing. Check them every few months.
- Medications: Apart from certain prescriptions, most over-the-counter medications last 1 to 2 years from the date they were made.
- Bandages: The adhesive on bandages loses its grip over time. Replace anything with adhesive after 3 to 5 years unless the packaging says otherwise. If you are not sure how old a bandage is, open one and test the stickiness.
- Batteries: Each battery shows an expiration date or code. That date is usually conservative, so the battery often lasts longer. Quality matters too, so changing batteries once a year is the safe move. Test battery-powered items whenever you check the kit.
- Ointments: These can lose potency, especially if they sit somewhere hot.
- Alcohol-based products: Rubbing alcohol and antiseptics can lose potency past their date and work less well.
The FDA advises against using expired medications and related items because their chemical makeup may have changed. That can affect how well they work and how strong they are, and for some antibiotics a weaker dose can mean the infection does not clear. Once the date on the package passes, the maker no longer guarantees the medicine is safe and effective.
Replacing expired medication does more than avoid the small chance of a chemical change. It also keeps you current on new instructions or dosage changes, since makers sometimes update their products.
Checking items that do not expire
Plenty of items in your kit have no expiration date, but they can still go bad. If they are stored poorly or not maintained, even long-lasting items can get compromised. Look over the packaging on durable items to decide if they are still usable.
Treat a first aid item as expired or in need of replacement if it looks contaminated or shows any of these signs:
- Open packaging: If an item that needs to stay sterile has been opened, replace it. It may have picked up contaminants and should not go near a wound.
- Discoloration: This can come from a spill, water damage, or oxidation. Any of these can break the seal or signal that the item has sat unused for a long time.
- Rust or corrosion: Metal tools like scissors and tweezers may have been exposed to moisture. That damages the tool and can grow bacteria that cause tetanus.
- Rips or holes: Replace any item with damaged packaging, including rubber gloves and wrapping materials.
If you see none of these signs and there is no expiration date, leave the item in place.
Emergency supplies you should have in a first aid kit
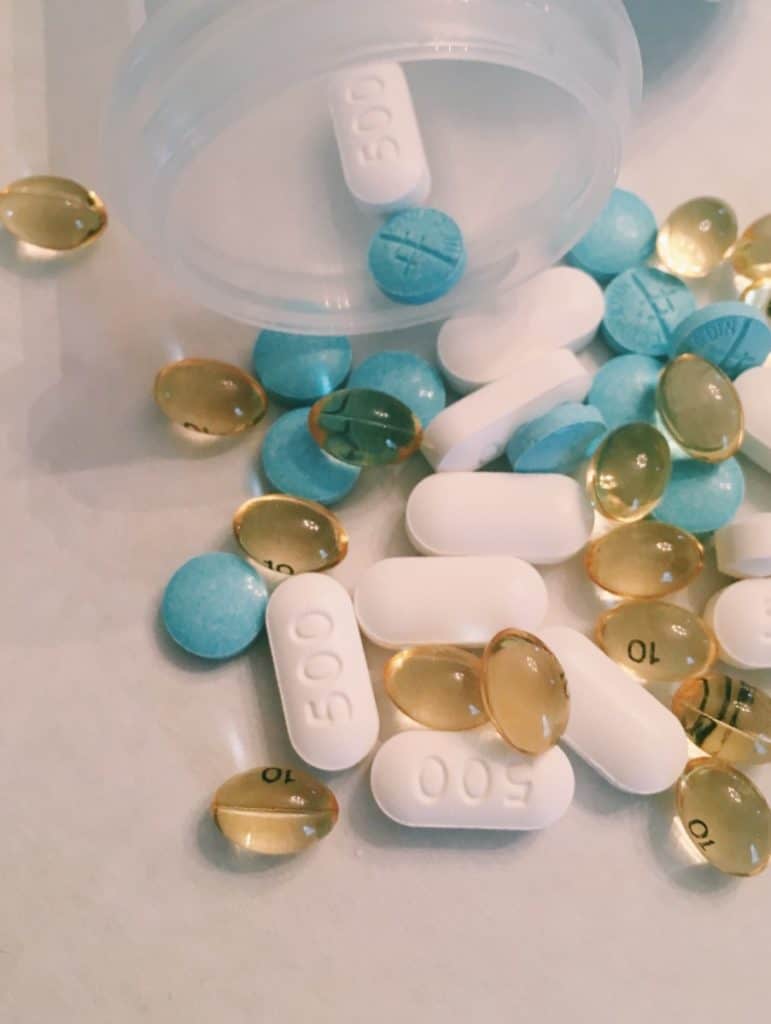
Knowing when to replace items is one thing. Having a checklist of what belongs in the kit keeps you ready when something happens.
Stock your first aid kit with this list of items:
- Medication: Personal medications, antihistamines for allergies, and pain relievers like ibuprofen or acetaminophen (plus children’s versions if you have kids; aspirin is for adults only and never for children or teens). Include enough for the number of people the kit serves, and keep a running medication list so a helper knows what everyone takes without guessing.
- Ointment: Antibiotic ointment to protect cuts, aloe vera for burns, and corticosteroids for rashes and inflammation.
- Antiseptic wipes or spray: Used on cuts to keep bacteria away before a bandage goes on, or to keep a wound clean.
- Bandages: Adhesive bandages in a range of sizes for cuts and scrapes. Elastic bandages help with sprains by adding pressure to reduce swelling and pain.
- Safety pins: To hold elastic bandages in place if they do not come with clips.
- Gauze: Keep both sterile and non-sterile pads. Sterile gauze is for open wounds. Non-sterile gauze adds support or cushioning on a closed wound or sore spot.
- Cold compresses: Instant ice packs help reduce pain and swelling, and they can help bring down a fever.
- Gloves: To keep things clean when you work on a wound. Go with non-latex to avoid allergy problems.
- Cloth tape: Holds bandages and gauze in place while staying flexible and durable.
- Tweezers: For anything your fingers cannot handle, like pulling a splinter or other object out of skin.
- Scissors: Many of the dressings above need cutting to size or to open.
- Thermometer: The kit is a good home for it.
- Flashlight: For a power outage or for treating someone in a dark spot. A battery-free flashlight is worth the extra cost here, since it’ll work whether or not you remembered to check the batteries.
What you add beyond this depends on your needs and where you use the kit. Match it to the activities you do and the risks that come with them. A sports kit, for example, may need more instant ice packs, cold spray, or pain relievers than a home kit.
A home kit may hold different items than one you take on the road, especially in places far from a drugstore. Plan for the situations you actually face. Check everything on a regular basis to confirm items have not been used up or expired, since both call for a replacement.
Note: Workplace first aid kits have to meet specific OSHA requirements. Follow them if you are an employer.
Safety tips for using a first aid kit: do’s and don’ts
A kit helps, but only if you know how to use it. Here are some tips to use yours well and stay ready.
- Do: use a durable, waterproof case
The case matters as much as the contents. It should be big enough to hold everything and tough enough to keep it all intact and clean. A hard, waterproof case protects against impact and moisture.
A hard shell stops objects from puncturing the case or crushing items inside. If it gets dropped, it should hold up, or at least keep the contents safe. Most kits come in a solid case, but check yours to be sure.
A well-sealed case also keeps out moisture and contaminants that build up over time. A see-through case lets you spot moisture and grab what you need fast. Just store it out of sunlight.
- Do: check or mark expiration dates
If there is one takeaway so far, it is that kit items expire and need regular checks. Watch the dates on items that go bad, and watch the condition of items that do not. That keeps your tools ready for the moments you cannot plan for.
Most people stash the kit out of sight, so it is easy to forget. Set a reminder to check it on whatever schedule fits the age of your kit.
A few ways to remember:
- Visual reminders: A note on a calendar or a sticky note somewhere you look often.
- Phone reminders: Set a repeating alarm for certain days of the year so you never miss it.
- Daylight saving: Check the kit twice a year when you change your clocks.
- Other repeat dates: Tie kit checks to other dates that come around every year.
These little shortcuts make it easier to keep the right tools ready.
- Do: replace items right after you use them
Items need replacing after use, not just after they expire. This matters most for things you keep only one or two of. One bandage will not empty a box, but using the last of a medication or breaking a single-use ice pack means you need to restock.
After an incident it is easy to put the kit away without refilling it. Add the used item to a shopping list right away, or keep spares at home so you can top off the kit fast. Extras on hand make replacement simple.
Drugstores and most grocery stores sell the individual items that go in a kit. You do not have to buy a whole new kit if yours still has plenty of good supplies.
- Do: test that items work
Several items can be turned on or tested to confirm they still work. These are usually the electronic or mechanical pieces. For most people that means a flashlight and a thermometer.
Turn both on and off every time you check the kit to confirm the batteries hold. Keep spare batteries in the kit in case one runs flat. You can also test the scissors, since they have been sitting closed for a while.
- Do: keep the kit in a safe, reachable place
Store the kit somewhere cool and dark, out of direct sunlight. That keeps temperatures steady for medications and ointments and holds down moisture. A cupboard that stays cool and is easy to reach works well.
If you travel with a kit or keep one in the car, temperature is harder to manage, since cars get hot. Keep it out of direct sun and near the floor. Cover it with something insulating if you can. Under a seat is often a good spot.
Make sure you and your family always know where the kit is. It should be easy to grab, since time matters in an emergency. At the same time, it should not be so easy that small children can open it, especially with medications or sharp tools inside.
Like medications around the home, keep kits up high where small children cannot reach. Kitchens and bathrooms are good storage spots because they are handy and they are where a lot of accidents happen.
- Do: keep more than one kit
Having more than one kit means supplies are always within reach. The American Red Cross suggests keeping one at home and one in the car. The car kit matters most when quick access to medical care or a drugstore is not close by, especially if winter weather is part of what you’re planning for; see our winter car emergency kit checklist.
Put the car kit back after use so it is ready to travel with you. If you are heading out for an outdoor activity, take a kit along. That goes double in remote spots where you may end up far from your car, like on a hike.
Sports teams usually keep a kit at the field, often from a trainer. These handle minor scrapes as well as bigger sports injuries that can be treated on site.
- Don’t: use damaged or tampered items
If an item looks used or damaged, do not use it. This matters most with open wounds. Do not use opened items, since they can no longer be counted on as sterile. Replace them with new ones to avoid the problems a faulty supply can cause.
Damaged equipment, especially sharp tools, also raises the risk of injury or misuse. Those items can be dangerous to keep in the kit at all.
- Don’t: keep items that do not belong
You know what to keep. Some things should stay out. Leave these out because they are either dangerous or should be handled by a doctor:
- Activated charcoal or ipecac: These were once used to make children throw up after swallowing poison. Do not use them, especially ipecac, since they may not clear the poison. Call Poison Control right away if you suspect poisoning.
- Lighters or fire: With alcohol-based products in the kit, a fire source, especially an automatic one, is a real hazard.
- Knives: With sharp scissors already in the kit, knives add danger, especially if a child gets in.
Keep only the items you need. Skip extra sharp objects, fire hazards, and dangerous chemicals.
- Don’t: skip the instructions
A kit needs the right tools, and it also needs instructions on what to do and how to use them. Staying safe means staying calm and following directions. Review first aid guidelines each time you check expiration dates.
Pre-made kits usually come with instructions for different emergencies. Follow them to keep the injured person safe. If yours did not come with any, use an online resource, or keep one of the best books for medical emergencies on the shelf for when the wifi is the thing that’s out. Print the steps and tuck them into the kit.
It also helps to keep a list of local medical phone numbers. Include at least:
- Emergency (911)
- Local police or fire department
- Poison Control Center
- Primary care physician
Review the steps before you use a kit so you keep yourself and the injured person safe. Following clear instructions also helps you stay calm and make better choices under pressure. Keep the steps inside the kit so anyone can find them.
- Don’t: ignore when you need more help
A kit handles common injuries and helps slow down a bigger problem. But a kit cannot fix everything, and you should not lean on it alone to keep people safe.
If a situation needs professional care, call emergency medical services right away. You can help keep an injury from getting worse, but call a medical team, especially when first aid is not helping. That gets the injured person treated as fast as possible.
Keep emergency contact information handy for the times you need more serious medical help — a home for that information beats a sticky note you can’t find under stress.
Keeping your first aid kit from expiring
A first aid kit can handle a lot of the injuries that come up day to day, but only if everything inside is ready to use. Keep it working by making sure nothing is expired or damaged.
The best way to prevent expired supplies is to check the dates on a regular basis and store the kit somewhere dry and safe. Keeping it away from sunlight and moisture protects the items and extends their life, especially the ones that can be ruined by water or lose their sterile seal.
Follow the steps in this article and the guidance from medical professionals, and your first aid kit becomes a reliable first line of help at home, at work, and in the car.
Coming soon
The part of being prepared most families never finish
The Family Emergency Binder puts your family's contacts, documents, and plans in one place — a 15-minute quick start tonight, finished over a weekend. Join the list and we'll email you the moment it's ready, at the $19 launch price for a limited time.