Gear & Supplies
Emergency Candles 101: Everything You Need to Know
In this guide
Emergency candles give a home light and a little heat during a power outage with no batteries, no cords, and no outlet required. Burn times range from about 7 hours for a tea light up to 100 to 115 hours for a liquid paraffin candle, making them a cheap, simple backup for any household.
Here is what a good emergency candle gives you:
- Up to 100 hours of burn time, depending on the model
- No power or batteries needed
- Light and a source of heat
- Easy to store and reuse across many outages
- Safe to use indoors or outdoors
- Will not explode while stored
Emergency candles may not be the first thing you pack, but they earn their spot. They are useful at home during a power outage and outside while camping. Here is what to know about them and why a few belong in your kit.
Why use emergency candles
Most people stock the obvious things: a first aid kit, batteries, flashlights, canned food, and water. An emergency candle is the item that turns out to be handy more often than you expect.
Here is what an emergency candle does well:
- Burn time: candles run for hours, and you can relight them again and again. A flashlight can drain its batteries faster.
- No power or batteries: candles work anywhere. They cost less than batteries, and all you need is a match to light one.
- Light and heat: a candle gives you real light when the power is out. Set a few together and you get enough heat to warm a small space or cook.
- Easy storage: most candles are small and light, so they fit in a closet or a pack without taking up much room.
- Indoor and outdoor use: candles work in both spots. Inside, the main risk is leaving one unattended near something flammable. Outside, wind is the issue. Shield the flame and you avoid both.
- No explosions: candles are not made of explosive material, so they stay safe even when it is hot. Keep them cool so the wax does not melt, but they pose no danger sitting in storage.
You can use an emergency candle as your main light or as a backup when a flashlight or lantern quits. In almost any conditions, it will light when you need it.
Different types of emergency candles
Emergency candles come in several designs, and the design affects how much light you get, how much heat, and how long it burns. Any candle gives off light, so any candle can serve in a pinch. The right one for you depends on your needs and your budget.
Here are a few options worth comparing:
- Liquid emergency candles: these burn liquid paraffin and can run for more than 115 hours. There is no smoke or odor like a regular candle. Seal them well after use so they do not leak, give them some ventilation, and know they may not throw a lot of light.
- Container candles: these sit in a small jar, so they are easy to store and easy to put out. Many have more than one wick to use up all the wax. They are also the easiest kind to make yourself.
- Pillar candles: these stand on their own, but set them on a dish or holder to catch dripping wax. They are a popular pick because they last a long time and give off plenty of light.
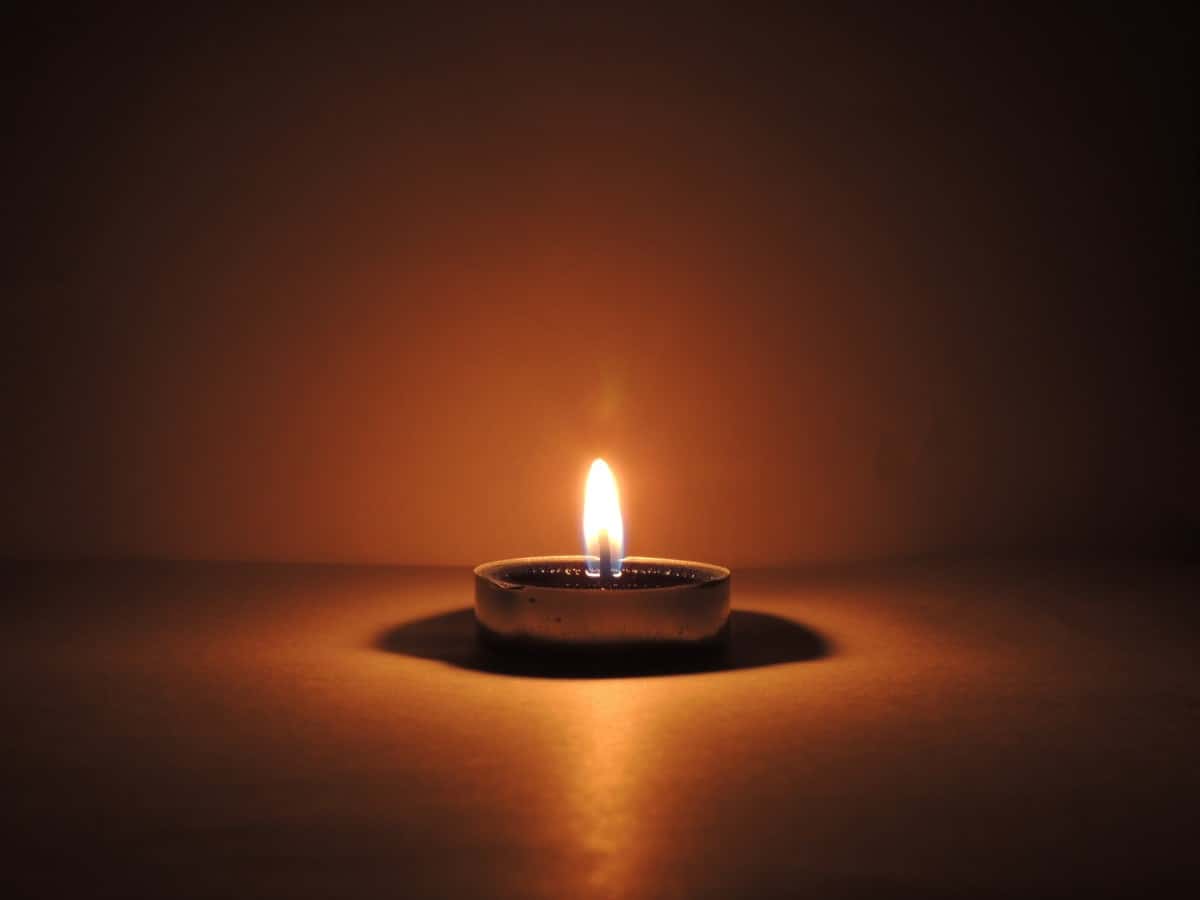
- Tea lights: one tea light does not give much light or heat, so you need several at once. They are cheap and come in big packs, which makes them work well in groups. Tea lights made for emergencies burn longer than the ones from the store, and that extra burn time is worth a little more money.
All of these give you usable light and heat. The first three work well on their own. Tea lights work best in numbers.
These styles look a lot like regular candles, but emergency candles are built for light. They do not slump into themselves and block the flame the way a decorative candle can. They also have little or no scent, which burns cleaner and is easier on the air over many hours.
When should you use emergency candles
Keep emergency candles at home for outages and pack them when you spend time outdoors. Camping is a good fit. At home or in the woods, they give you light and heat when neither is on tap.
Here are the times you would reach for them:
- Power outage: outages can be caused by weather such as heat waves and storms, by something hitting a power line, or by heavy demand on the grid. Ready.gov recommends keeping flashlights and a battery-powered or hand-crank radio on hand in addition to candles, since a radio is how you get official updates when the outage runs long. If you live where storms, earthquakes, tornados, or hurricanes are common, you are more likely to lose power. See our nighttime power outage checklist for the rest of what to do once the lights go.
- Camping: when you are away from power, or it runs out, candles give you light and, more often, heat. You can warm a small area with them or use one to start a larger fire.
- No gas or electricity for cooking: candles can heat food or water if the stove is out. Gas burns hotter, but a candle works when you have nothing else.
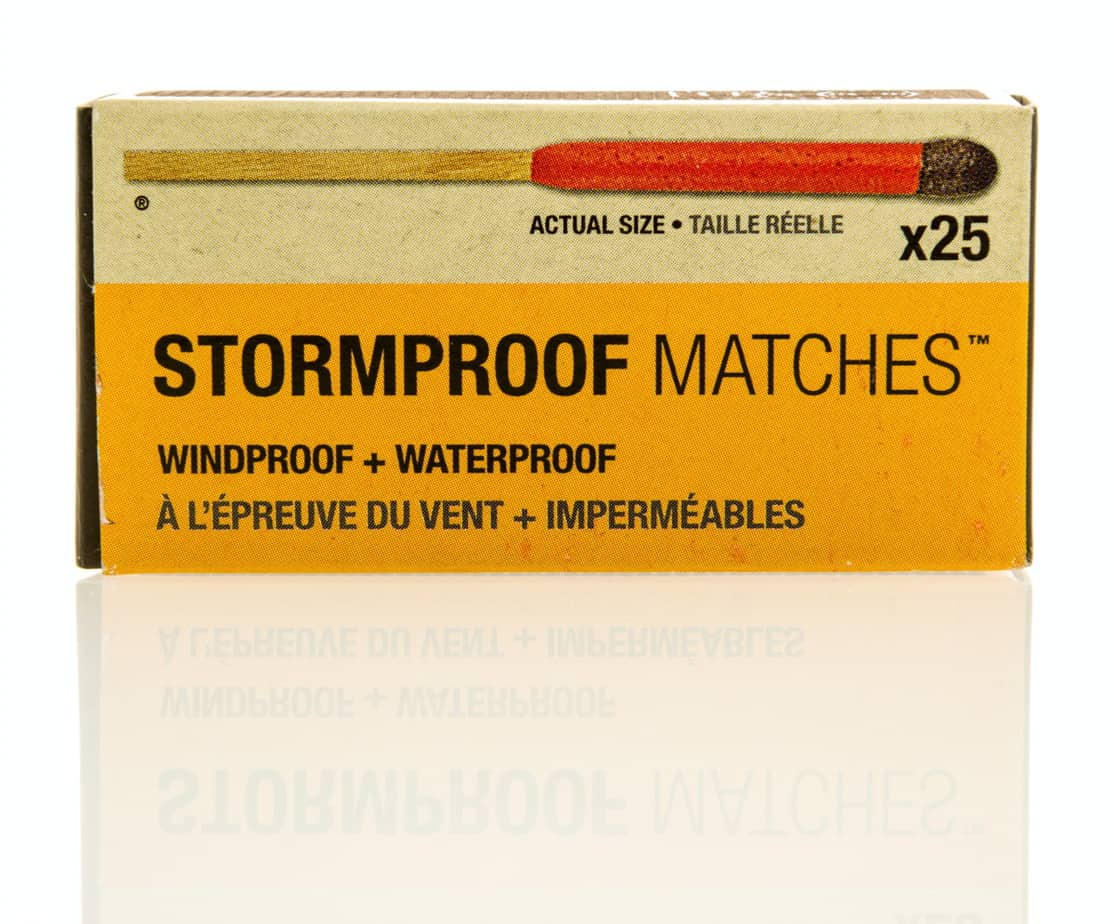
You also need matches or a lighter to go with the candles. Stormproof matches are worth the few extra dollars since a regular match won’t light in wind or damp air. Keep them dry in a sealable plastic bag so your light source stays ready.
Still keep a flashlight or another light in your kit. Those are often easier to use and carry no fire risk. But candles are more dependable over time, because a candle will always light when a flashlight might not.
How long emergency candles last
It depends on the model. Burn time changes with the size of the candle, how much wax it holds, and the type of wick. The longest-burning emergency candles run up to 115 hours. The shortest, tea lights, run about 7 hours.
Here are the usual ranges:
- Pillar candles: burn time tracks with size. A small 3-inch candle burns around 30 hours. A large 7-inch candle gives about 90 hours.
- Tea light candles: about 7 to 10 hours, depending on what they are made of. The small amount of wax limits the burn.
- Liquid paraffin candles: more than 100 hours, using special wicks.
Liquid wax candles give the longest burn, usually with liquid paraffin. The liquid feeds the flame directly, so there is no solid wax or standard wick involved. Paraffin is the cheapest option, which is why it shows up so often in emergency candles, though in solid wax form it usually gives the shortest burn.
Beeswax is another common choice, made naturally by bees. It is non-toxic and gives more than 100 hours of burn time in larger candles. Even a small beeswax candle burns about 35 hours. Beeswax costs more than paraffin, but it is a natural product.
What affects emergency candle burn time
A few things drive how fast a candle burns:
- Wax: most candles use paraffin, beeswax, soy, or palm wax. Paraffin is the most common and the only one that is not natural. It usually burns faster than the natural waxes.
- Wick: the shape and size of the wick matter. Smaller wicks usually last longer.
- Environment: a warmer room makes a hotter flame, so the candle burns faster. More air movement speeds the burn too. More oxygen feeds the flame and burns the wax quicker.
The wick matters
The wick is less important than the wax, but it still changes how long a candle burns. Flat wicks are the most common. They curl back into the flame and burn the fastest. Square wicks are sturdier, give off more light and heat, and still burn slowly. Cored wicks use a stiff center to keep the flame upright.
A smaller wick burns through wax slower but may not give as much light or warmth. If light is what you want, use a smaller, more efficient wick. A candle with several wicks is a good pick because it uses all the wax. Just do not light them all at once, since that pools the wax and burns the candle out faster.
Where to keep emergency candles
Candles are not explosive or dangerous while sitting in storage, so you can keep them almost anywhere. These tips help them last and stay in good shape until you need them.
Good storage looks like this:
- Cool and dark spots: this keeps candles at room temperature so they do not melt or change. An attic gets very hot, so skip it. A handy closet or storage area works better.
- Out of direct sunlight: sun is the most common cause of a melted candle. It can make a mess and can push the wax toward its flash point, where it reacts to a flame or spark. Warm spots can also bend the candles out of shape.
- Dry spots: water will not ruin most candles, but steady exposure is not good. Over time it wears on the candle, or the candle is still wet when you need it.
- Upright and level: storing candles upright keeps any melted wax from making a mess. This matters most for jar candles and tea lights.
- Away from flames: keep candles away from fire hazards like the stove. Do not store them next to other flammable items such as cardboard or gas cans.
Storing them well keeps them easy to grab and ready to work.
How to make your own emergency candles
Candle making is a fun project, and it works for emergency candles too. Making them in bulk drops the cost per candle and lets you build the exact kind you want. You can use standard candle materials or things you already have at home.
Making emergency candles from scratch
First, the standard way. We suggest making your candles in a container, since they make less mess and are easier to handle. Here is what you need:
- Container: size sets the burn time, so use a larger jar if you want a longer burn.
- Wax: paraffin (short burn, cheap), beeswax (natural, long burn), or soy wax (like paraffin but natural).
- Wick: use candle string or buy candle wicks made for the job. Match the wick to the wax. A fast-burning wick does not pair well with slow-burning beeswax. Slower waxes need a larger wick, or the flame drowns.
- Wick prep: soak the wick in Borax and salt for a better, steadier burn.
- Wick holder: anything that holds the wick across the top of the container works. A clothespin or pencil to tie or rest the wick on does the job.
Once you have your materials, follow these steps:
- Prepare containers or molds: for jar candles, line up your jars. For free-standing candles, make a mold to hold the shape while the wax sets. Use something rigid you can shape and pull off later. Tinfoil, toilet paper rolls, and plastic cups all work. Pre-made molds are the easiest to use and remove.
- Prepare the wick: this depends on the wax. Paraffin often needs no prep, since it burns fast like the wick does. For beeswax or a tougher wick, soak it in salt and Borax for about 24 hours, then dip it in wax so it stiffens.
- Cut the wick: leave enough to run the full height of the candle, plus a little extra at the top for burning.
- Anchor it: use your clothespin or similar to hold or tie the wick across the top of the jar or mold so it does not drop in when you pour.
- Melt the wax: melt your wax in a batch big enough to fill all the jars. We like the double-boiler method: put the wax in a bowl set over a pot of boiling water and let the steam melt it.
- Pour the wax: carefully pour the melted wax into the containers. Set up the area first in case of spills.
- Remove the molds: this part can stick. Plastic cups release the cleanest, but use durable ones so they do not melt against the hot wax.
The process is simple, but go slow and keep the area clean so you do not spill wax on nearby surfaces, your skin, or your clothes.
Last-minute candle ideas
If you do not have an emergency candle when you need one, plenty of household items can stand in. Keep these away from kids and pets. They work, but they are riskier than real candles, since they were never built to burn.
Try these for a quick light:
- Wicks: cotton string or twine gives you the burn you need and is easy to find at home. Tightly rolled T-shirt fabric, paper towels, or newspaper also work as backup wicks.
- Orange: put a little olive oil or other cooking oil on a halved orange, set a wick in the center, and light it.
- Butter: poke a hole in a stick of butter, push cotton into the center for a wick, and light it. Set it on a plate, because it gets messy.
- Crayons: think of these as tiny candles, with the paper wrapper acting as the wick. Contain them, since they get messy. Melt the bottom so it sticks to a surface and stands up straight.
- Oil jar candles: fill a heat-safe jar with cooking or olive oil, poke a hole through the lid, thread a cotton wick through, and let it burn off the oil.
You can see how to make a few of these in this video. Set all of them on a plate or surface that can catch the mess. These will not last as long as a real candle, but they will give you light when you need it.
Burning emergency candles safely
The main downside of a candle is that it is a fire hazard. Handle it with care, because a candle can start a house fire if you are careless. This matters most in a dark room, so burn yours carefully to avoid an accident on top of an outage.
Candles are more dangerous than most people assume. NFPA data shows U.S. fire departments respond to nearly 5,900 home fires a year that start with a candle, causing an average of 63 deaths and $286 million in property damage, and over a third of those fires start in the bedroom. The U.S. Fire Administration recommends never using a lit candle in a bedroom or anywhere someone might fall asleep near it.
Here are safety steps to follow:
- Never leave a candle unattended: do not leave the room, fall asleep, or forget about a lit candle. That is the easiest way to start a fire.
- Set candles at a safe height: keep them where pets, kids, or anyone in the house cannot knock them over. Placing them up high helps.
- Keep them away from flammable materials: NFPA puts the safe distance at 12 inches from anything that can burn, including curtains, paper, and bedding. A draft can carry a flame further than you’d expect, so keep both well clear.
- Avoid drafts: breezes make a mess and cause uneven burns. Keep candles away from open windows and air vents.
- Ventilate the room: the EPA advises using a flashlight or battery-powered lantern over a candle when you have one, since candles emit combustion byproducts and need a ventilated room if you do burn them.
Follow these and you keep your home safe while getting the most out of your candles. The goal is to stretch the burn time, and bad lighting or storage habits cut it short.
Many emergency candles are built to go out if they tip over. Check the safety features when you choose one. They matter more if you have a full house or a higher chance of someone bumping the candle.
Adding emergency candles to your kit
Emergency candles earn a place in any home kit. They give you light and heat, they are easy to use, and they need nothing but a match or lighter. Treat them with care, since they are a fire hazard, but used right they are a big help during an outage.
It pays to be ready. Light and heat are easy to take for granted, right up until they are gone for who knows how long.
Coming soon
The part of being prepared most families never finish
The Family Emergency Binder puts your family's contacts, documents, and plans in one place — a 15-minute quick start tonight, finished over a weekend. Join the list and we'll email you the moment it's ready, at the $19 launch price for a limited time.