Skills & Know-How
How to Purify Water with Charcoal: The Ultimate Guide
In this guide
Charcoal filters clear dirt, cloudiness, and bad taste from water, but it does not make water safe to drink by itself. Charcoal does not reliably kill the bacteria, viruses, or parasites that cause illness. After filtering, boil the water for at least one minute, or treat it with a chemical disinfectant, before anyone drinks it.
That two-step approach, filter then disinfect, is the safest thing you can do at home with no other equipment. Skip the second step and you can end up drinking water that looks clear but still isn’t safe.
The safety line, up front
A charcoal filter is not a substitute for boiling or chemical disinfection. It’s a first step that makes cloudy or bad-tasting water easier to treat, not a finish line.
Charcoal is good at clearing dirt and grit, cutting chlorine taste and smell, and adsorbing many organic chemicals. It is not reliable for killing bacteria, viruses, or parasites like giardia and cryptosporidium. The CDC is direct about this: most household carbon filters, including pitcher and fridge filters, exist to improve taste and remove certain chemicals, not to make water microbiologically safe.
After filtering, bring the water to a rolling boil for at least one minute (three minutes above 6,500 feet), or add a chemical disinfectant like unscented household bleach or water purification tablets. The EPA’s emergency disinfection guidance covers both methods if you don’t have a stove or fuel to boil with.
If you’re comparing store-bought options instead of building your own, our LifeStraw vs. water purification tablets breakdown walks through which one actually kills pathogens and which one is really about taste.
What activated charcoal is
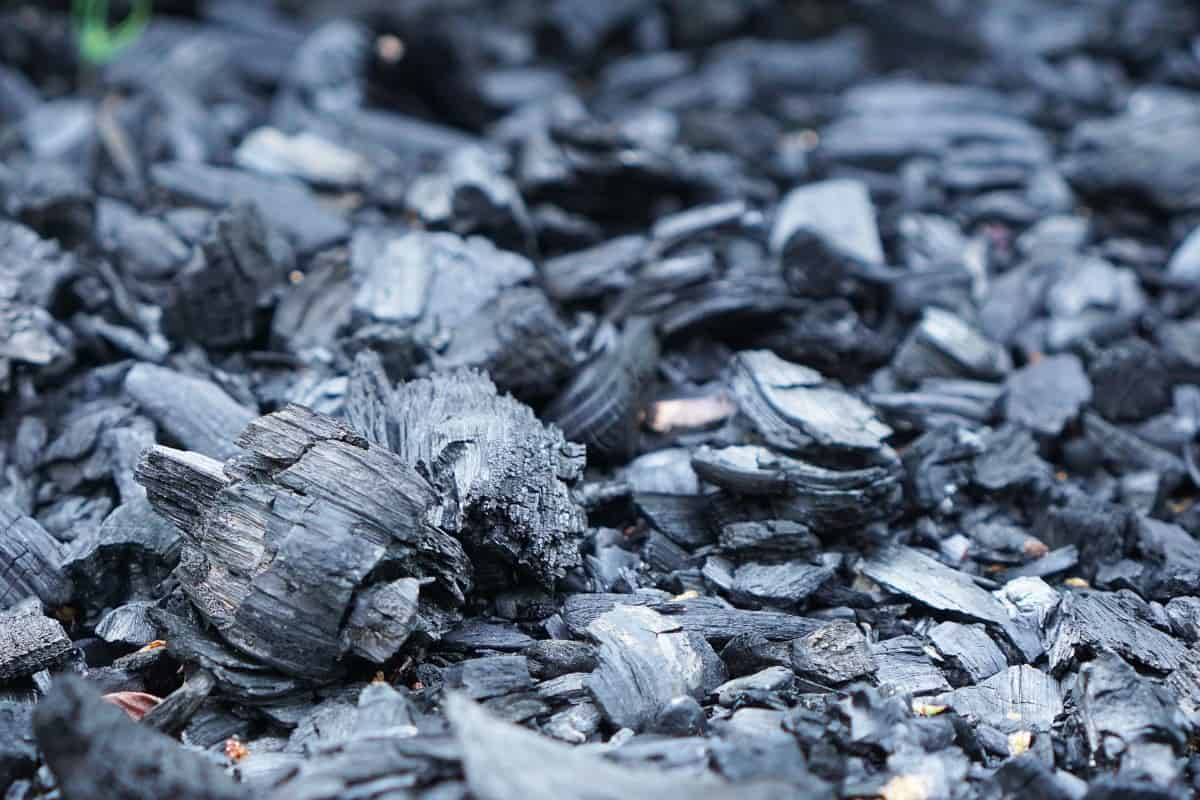
Charcoal is mostly carbon. Activated charcoal has been treated to open up millions of tiny pores across the surface of each piece. Those extra pores make it very good at grabbing odors, some chemicals, and loose particles out of water.
It does not catch everything. Dissolved minerals like sodium, and compounds like nitrates, are not drawn to carbon, so they pass right through. A charcoal filter pulls out some impurities and leaves others behind, and it does not distinguish between a harmless mineral and a disease-causing organism. It just isn’t built to catch the second kind.
How charcoal grabs impurities
People often say charcoal “absorbs” impurities, but the more accurate word is adsorbs, and the difference matters. Absorption is when a substance soaks into a material. Adsorption is when a substance sticks to the material’s surface. Charcoal adsorbs: impurities cling to the outside of the pores and stay there. An easy way to keep it straight: a sponge absorbs, charcoal adsorbs.
Charcoal packs a huge amount of surface area into a small space, thanks to all those pores, and that’s what lets it catch and hold impurities. A small amount of charcoal can treat a large amount of water because the surface area is so big. Speed matters too. The slower the water moves through, the more contact time it gets, and the better it filters.
The impurities most likely to get caught are organic, carbon-based compounds, chlorine, and things that affect taste and smell. Charcoal filters also wear out. The pores fill up with trapped material and stop working, so the charcoal needs replacing on a regular schedule.
How to build a charcoal water filter
Here’s how to build a basic filter when you have no clean water source on hand. Treat this as a backup skill, not your first choice for safe water, and remember: whatever comes out the bottom still needs to be boiled or disinfected before anyone drinks it. It’s also a good, hands-on way to show kids how filtering works.
What you’ll need
Gather a few materials. If you can’t find the exact item, use something close from around the house or your camping gear.
- An empty plastic bottle (soda bottle, water bottle, or similar)
- A knife or sharp scissors
- 2 canteens, cups, mugs, or similar
- A clean piece of cloth or a bandage
- A handful of pebbles
- A handful of sand
- Charcoal
Building your filter
- Step 1: Use activated charcoal if you have it, but charcoal from a dead campfire works too. Have everything ready before you start.
- Step 2: Cut the bottom off the plastic bottle. Keep that piece, you’ll use it later.
- Step 3: With the cap still on, drop a few pebbles into the bottle. Use the end of the knife or a stick to push them down and fill the gaps.
- Step 4: Add a layer of sand on top of the pebbles. Pack it down with the back of your knife or a stick.
- Step 5: Lay a piece of cloth or a bandage flat on top of the sand.
- Step 6: Add the charcoal on top of the cloth. If it’s a tight fit, press it down a little to make room.
- Step 7: Lay a second piece of cloth or bandage on top of the charcoal.
- Step 8: Add another small layer of sand on top of that cloth.
- Step 9: Finish with a few more pebbles on top. You should end up with a layered filter and the charcoal in the middle.
How to use your filter
Use one of your cups or canteens to collect water from the cleanest source you can find. Scoop from the top of the water, not down low where you’ll pick up extra sand and dirt.
Set an empty cup or canteen under the filter and pour the dirty water through. The first pass may still look cloudy. Run it through a few more times and you should see a real difference in clarity.
Once it looks clear, boil it for at least a minute, or add a chemical disinfectant, before anyone drinks it. That step isn’t optional. Filtering removes what you can see; disinfecting deals with what you can’t.
Tips for better results
- Don’t skip the cloth. It does almost as much work as the charcoal, and without it the water comes out dark and gritty from the charcoal itself.
- Rinse your pebbles and sand first. Run them under your water source to wash off loose dirt and dust before adding them.
- No sand? Skip that layer and replace it with another layer of cloth and pebbles.
- A 2-liter bottle works best since it holds all the materials. Add a handle near the open end to make it easier to carry.
- For clearer water, put a piece of cloth or bandage inside the cap and cut a small hole in it. The water filters slower but comes out cleaner.
A charcoal filter as a science project
This makes a good hands-on project for kids and an easy way to talk about adsorption and how filtering works. The water from this version is for watching, not drinking; use it to water plants afterward, not to fill a cup.
You’ll need similar materials:
- A plastic bottle (a 2-liter works best)
- A knife or scissors
- A measuring cup
- A spoon
- A stopwatch
- A pencil and paper
- Filtering items like activated charcoal, gravel, sand, and cotton balls
- A filter material like a coffee filter, napkin, paper towel, cloth, bandage, or bandanna
Make your own “dirty” water so it’s easy to see how much the filter removes. Add coffee grounds, dirt, leaves, or cooking oil to plain tap water.
How to build the experiment
- Step 1: Cut the bottle in half. Flip the top half over and set it inside the bottom half so the top works as a funnel. The filter goes in the top part.
- Step 2: Place the coffee filter or other material against the opening where the cap would be.
- Step 3: Add cotton balls, charcoal, gravel, and sand in layers. The charcoal layer is the part that pulls out impurities.
- Step 4: Stir and measure a cup of your “dirty” water. Pour it into the filter and start the timer as you pour.
- Step 5: Time how long the water takes to pass through, and talk through what’s happening.
- Step 6: Take the layers apart to see what each one caught. Run it again with different materials and layer orders.
The longer the water takes to move through, the cleaner it usually comes out. If it runs through fast, more debris makes it past the filter. Your kids will see a clear difference between the water before and after, and you’ll have a good jumping-off point to talk about why filtered water still isn’t the same as safe water.
Should you get a charcoal filter for your home
Homemade filters are for a pinch. If you want charcoal filtration as part of your regular setup, plenty of ready-made options exist, usually labeled as carbon filters since charcoal is a form of carbon. You’ll find them in faucet attachments, filtering pitchers, and some showerheads.
What a carbon filter is actually good for
Most tap water complaints, especially a metallic or chlorine taste, come from the chemicals used to disinfect public water supplies. A carbon filter adsorbs a lot of that and improves the taste, and it can reduce chlorine, trihalomethanes, and some pesticides and herbicides, depending on the filter. Granular activated carbon is also one of the filter types the EPA lists as effective at reducing PFAS (“forever chemicals”) in drinking water, but only if the specific unit is independently certified for it; not every carbon filter on a store shelf carries that certification, so check the label rather than assume.
Carbon filters are also among the cheapest filtration options and easy to find replacements for. Swapping the cartridge is usually simple, and most need changing every six months. Never run one past a year: once the pores fill up, trapped material can start breaking loose and flowing back into your water.
What it’s not built for
Standard carbon filters do not reliably remove bacteria, viruses, or parasites, and they don’t touch hard water minerals, fluoride, or total dissolved solids. If your household needs protection against pathogens (say, you’re on well water or dealing with a boil-water advisory), pair a carbon filter with a certified microbiological filter, UV treatment, or reverse osmosis system, or stick with boiling and chemical disinfection. Some combination filters add finer pore sizes or silver to help with bacteria, but check the certification (look for NSF/ANSI standards) rather than assuming.
If you’d rather keep it simple and shelf-stable, storing bottled water properly is a lower-effort backup than any filter, and water purification tablets are worth keeping in a kit for the same reason: they handle the biological risk that charcoal alone can’t.
The bottom line
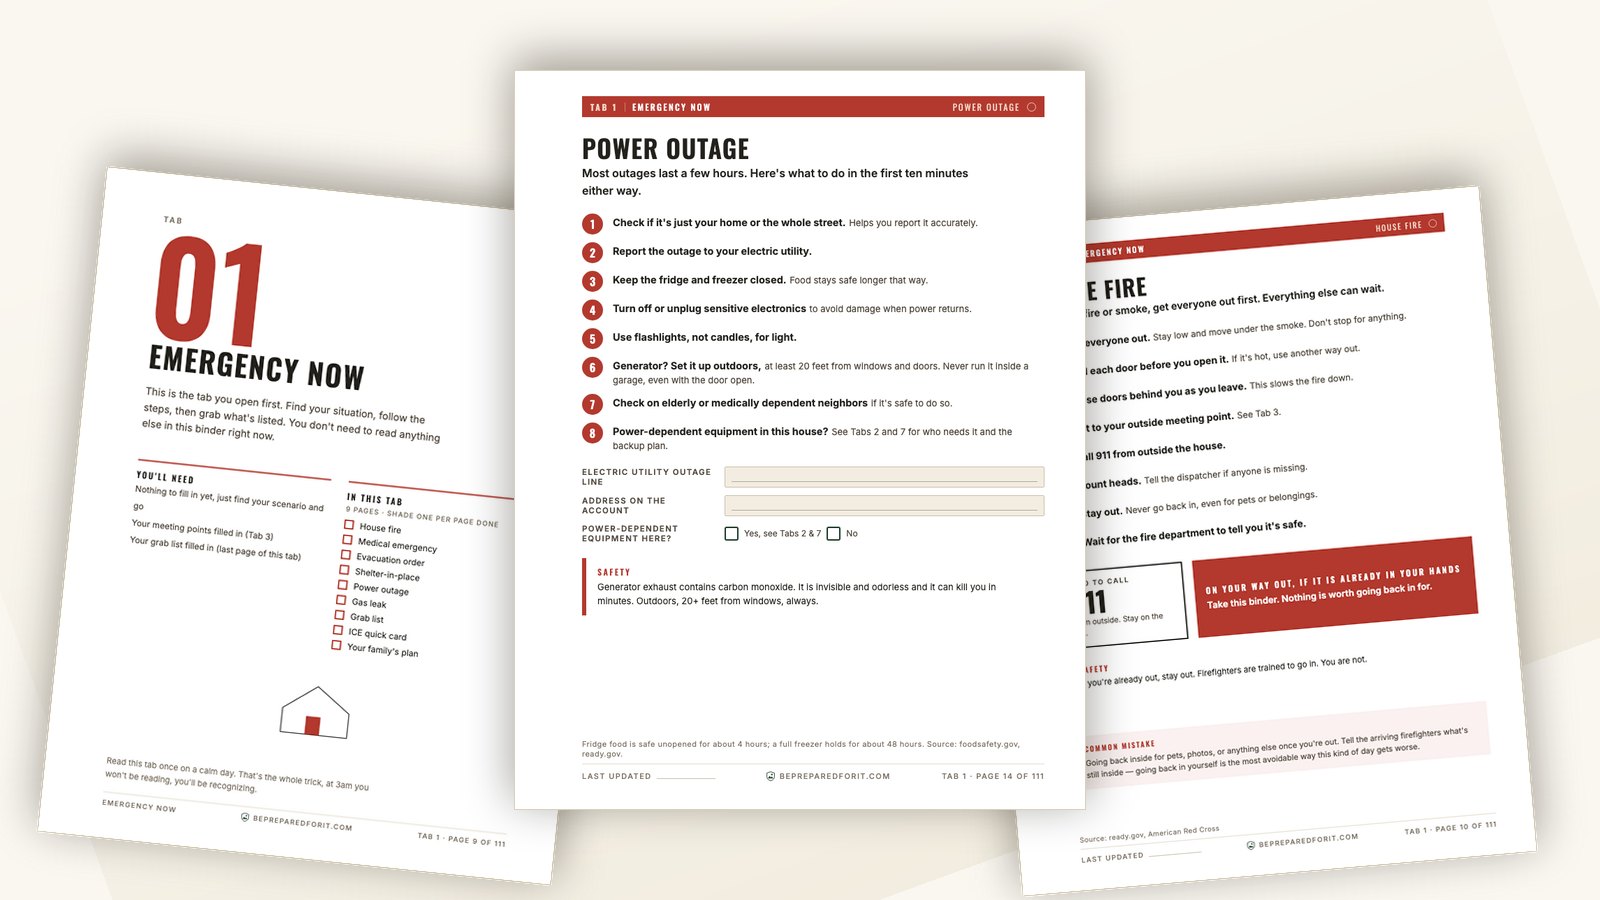
A charcoal filter earns its place in an emergency kit because it’s cheap, it makes questionable-looking water usable, and it improves the taste of water you already trust. It does not earn a pass on boiling or chemical disinfection. Build the filter, use it, then finish the job. And if the rest of your family’s emergency information is still scattered (contacts, insurance, medical lists, the plan itself), our Family Emergency Binder puts all of it in one place your family can actually grab.
Coming soon
The part of being prepared most families never finish
The Family Emergency Binder puts your family's contacts, documents, and plans in one place — a 15-minute quick start tonight, finished over a weekend. Join the list and we'll email you the moment it's ready, at the $19 launch price for a limited time.