Start Here
How to Build a 72-Hour Emergency Kit on a Budget
We may earn a commission if you buy through our links, at no extra cost to you. We don't test every product ourselves. We read and weigh real buyer reviews to give a fair, balanced picture. How we research.
In this guide
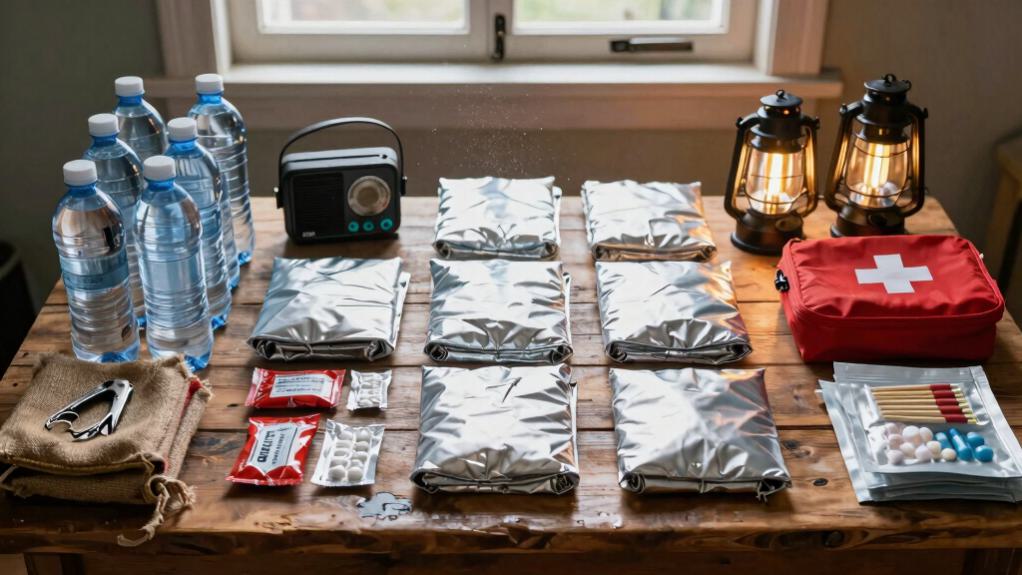
You can build a 72-hour kit on a tight budget using items you likely already own. Store 3 gallons of water per person, stock no-cook food like peanut butter and canned tuna, put together a basic first aid kit, and add a $2 mylar blanket for warmth. Most of the rest costs just a few dollars per item.
It does not take fancy gear or a big spend. Here is how to put together a kit that works without paying premium prices.
Start with water: smart storage under $30
You need one gallon of water per person per day. A 72-hour kit means three gallons minimum per person. Ready.gov lists that same gallon-per-person, per-day amount as the standard for both drinking and basic sanitation, and the American Red Cross uses the same three-day minimum for an evacuation kit.
You can find storage containers at any big-box store. Skip the thin plastic jugs that crack. Use sturdy, opaque containers instead. Two-liter soda bottles work if you clean them well, or buy a seven-gallon jug with a spigot for under $15.
Store them in a cool, dark spot and rotate the water every six months.
Stored water alone is not enough. Add a backup way to clean water. Iodine tablets cost pennies, or grab a $20 handheld filter that handles thousands of gallons.
Test your gear before you need it. The goal is a backup to your backup, not just water sitting on a shelf.
Keep the containers clean, sealed, and out of moisture. Getting water storage right keeps your supply safe to drink over time.
Stock cheap, no-cook food that actually tastes good
Three days of food does not have to taste like cardboard. Stock cheap snacks and meals you will actually want to eat when stress is high.
Grab peanut butter packets, crackers, and trail mix from discount stores. Rotate them into regular lunches so nothing goes to waste.
Canned tuna, chicken, and beans give you protein with no heat needed. Pouches of pre-cooked rice and shelf-stable curry make real meals.
Add applesauce cups, granola bars, and jerky for variety. Check the dates twice a year and eat what is about to expire.
Pack a manual can opener, and test it first.
Pick food that comforts you and fills you up for little money. Your kit stays ready, and your wallet stays intact. A varied set of shelf-stable foods keeps your emergency diet balanced even when money is tight.
Build a first aid kit that covers real injuries
A good first aid kit handles more than band-aids and aspirin. You want supplies for the common stuff: cuts, burns, sprains, and allergic reactions.
Stock gauze pads, medical tape, antiseptic wipes, tweezers, scissors, and a digital thermometer. Add elastic bandages for sprains and instant cold packs for swelling.
Include medications: ibuprofen, acetaminophen, antihistamines, and any prescriptions you take.
Add a CPR mask and nitrile gloves to protect yourself while you help someone else. Even a store-bought kit needs a look every so often; see do first aid kits expire for what to check and when.
Write your emergency contacts on waterproof paper and tuck it inside the kit, or start with a printable family binder that already has a spot for each one. List your doctor, the nearest hospital, poison control, and family members.
In a real emergency you will not remember those numbers. Keep the kit somewhere easy to reach and check the dates twice a year.
A set of first aid supplies covers both quick care and the items you need for longer treatment.
Stay warm and dry without spending a fortune
When temperatures drop and storms hit, staying warm and dry comes first. You do not need expensive gear to manage it. Layer smart instead.
Start with a moisture-wicking base layer from your closet, add wool or fleece in the middle, and finish with a waterproof outer shell. A cheap mylar emergency blanket costs under two dollars and reflects 90% of your body heat back to you.
In a pinch, stuff your clothes with crumpled newspaper or dry leaves for extra insulation.
Pack contractor-grade trash bags. They work as a shelter, a poncho, and ground cover. Swap sleeping bags for wool blankets from a thrift store. Seal gaps with duct tape.
You stay dry, you stay warm, and you keep cash for other things. Good moisture management keeps you warmer than just piling on more layers.
Pack the forgotten items that save the day
You have food, water, and shelter covered. The items people forget are what turn a rough situation into a manageable one. You need more than one flashlight, and a battery-free model is worth having in the mix. Pack headlamps, glow sticks, and a hand-crank lantern so you are never stuck in the dark. A multi-tool earns its place every day: cutting cord, opening cans, or making quick repairs without dragging out a toolbox.
| Forgotten item | Why you will thank yourself |
|---|---|
| Duct tape | Fixes leaks, blisters, gear |
| Cash in small bills | ATMs fail, stores need exact change |
| Notepad and pencil | Records info without batteries |
| N95 masks | Filters smoke, dust, debris |
You handle an emergency better when you pack what others forget. A roll of duct tape seals quick repairs, reinforces gear, and patches leaks in a shelter or pack.
Frequently asked questions
Where should I store my emergency kit?
Keep it somewhere you can actually reach it fast. Near an exit, in your car trunk, or by your bedroom door all work.
Check the spot now and then. Avoid extreme heat, moisture, and direct sunlight, since all three damage supplies.
Refresh the contents each season so everything works when you need it.
How often should I rotate canned food?
Rotate canned food every 12 to 18 months to keep it fresh, though most unopened cans last two to five years.
Check the dates and use older cans first. Steady rotation keeps your supply reliable.
Heat swings shorten shelf life, so store cans in a cool, dry place and check them for damage before eating.
What if I have dietary restrictions or allergies?
Pick foods you can actually eat in an emergency. Read labels carefully when you stock the kit and choose brands that avoid your allergens.
Do not count on standard emergency rations if you have restrictions. Build your own supply of shelf-stable items that fit your needs.
Rotate those items the same way, and you stay ready without risking your health.
How do I involve children in emergency prep?
Make it simple and fit it to their age.
Practice drills so kids know what to do when an alarm sounds.
Let them help pick their own supplies: favorite snacks that keep, a comfort item, and a flashlight they can work themselves.
Turn it into a game by finding exits and meeting spots together. You build their confidence through doing it, not through fear.
Can I use a regular backpack instead?
Yes. A regular backpack works fine, and there are plenty of cheap options.
You do not need expensive gear. An old hiking bag or a sturdy school backpack holds everything you need.
Skip the special features and focus on durability and comfort. Use what you already own or grab something affordable.
Conclusion
You have what you need to build a reliable 72-hour kit without overspending. Start small, cover the basics, and add items over time. Once the kit’s packed, the emergency binder checklist covers the next thing worth gathering: the paperwork and contacts a kit alone can’t carry. Check your supplies twice a year and replace anything expired. You will be glad you did when something unexpected happens. Stay ready, stay safe, and sleep easier knowing you are set.
Coming soon
The part of being prepared most families never finish
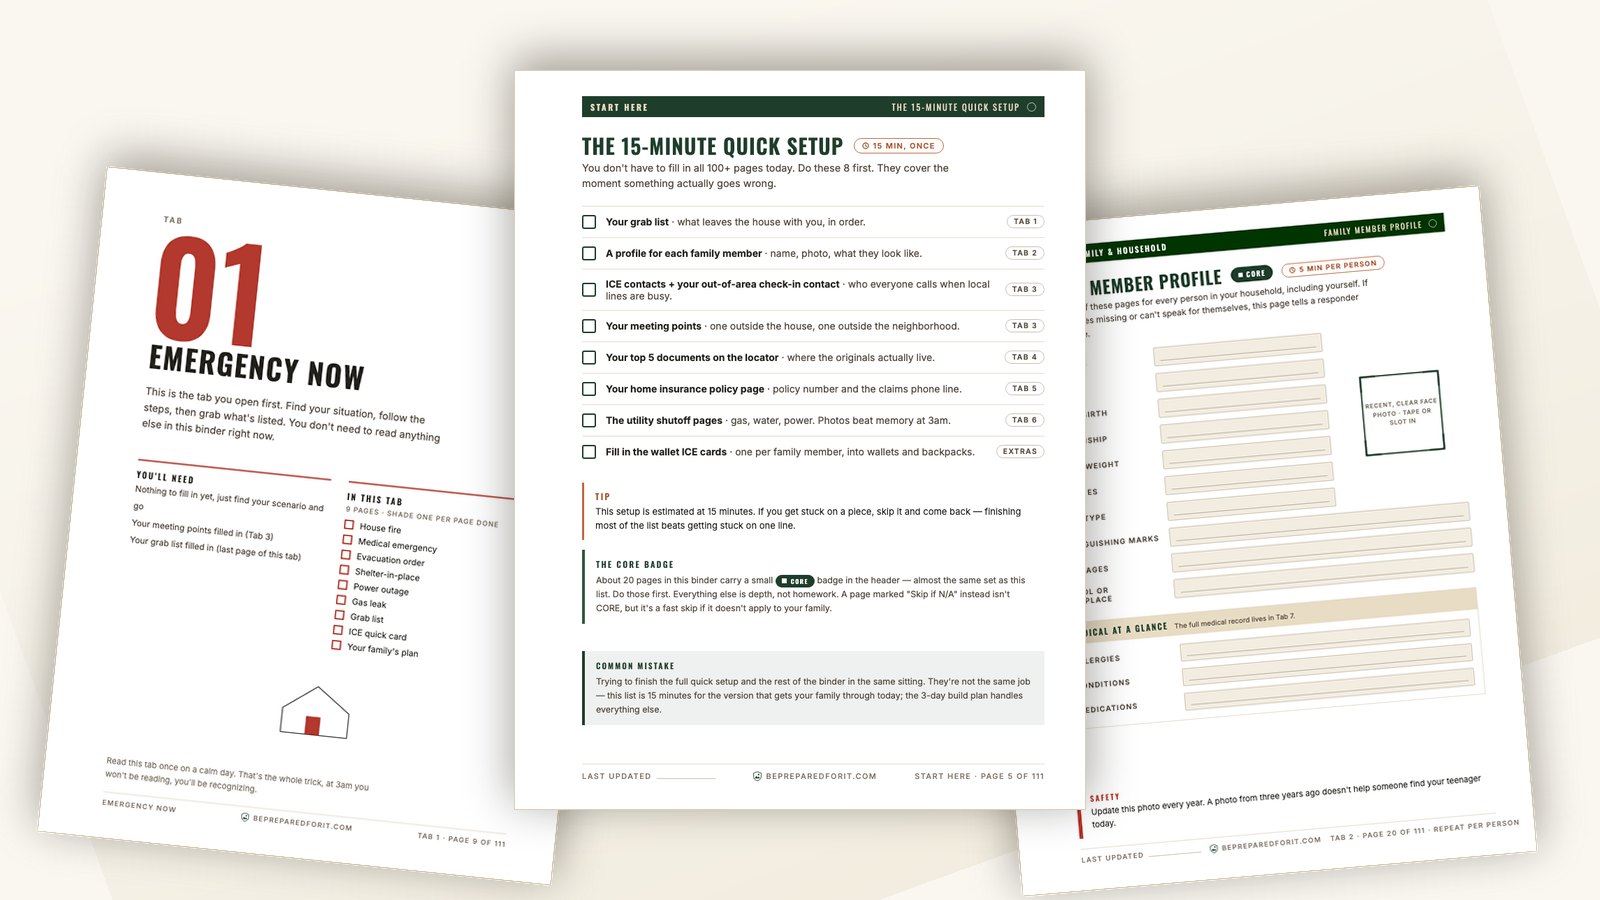
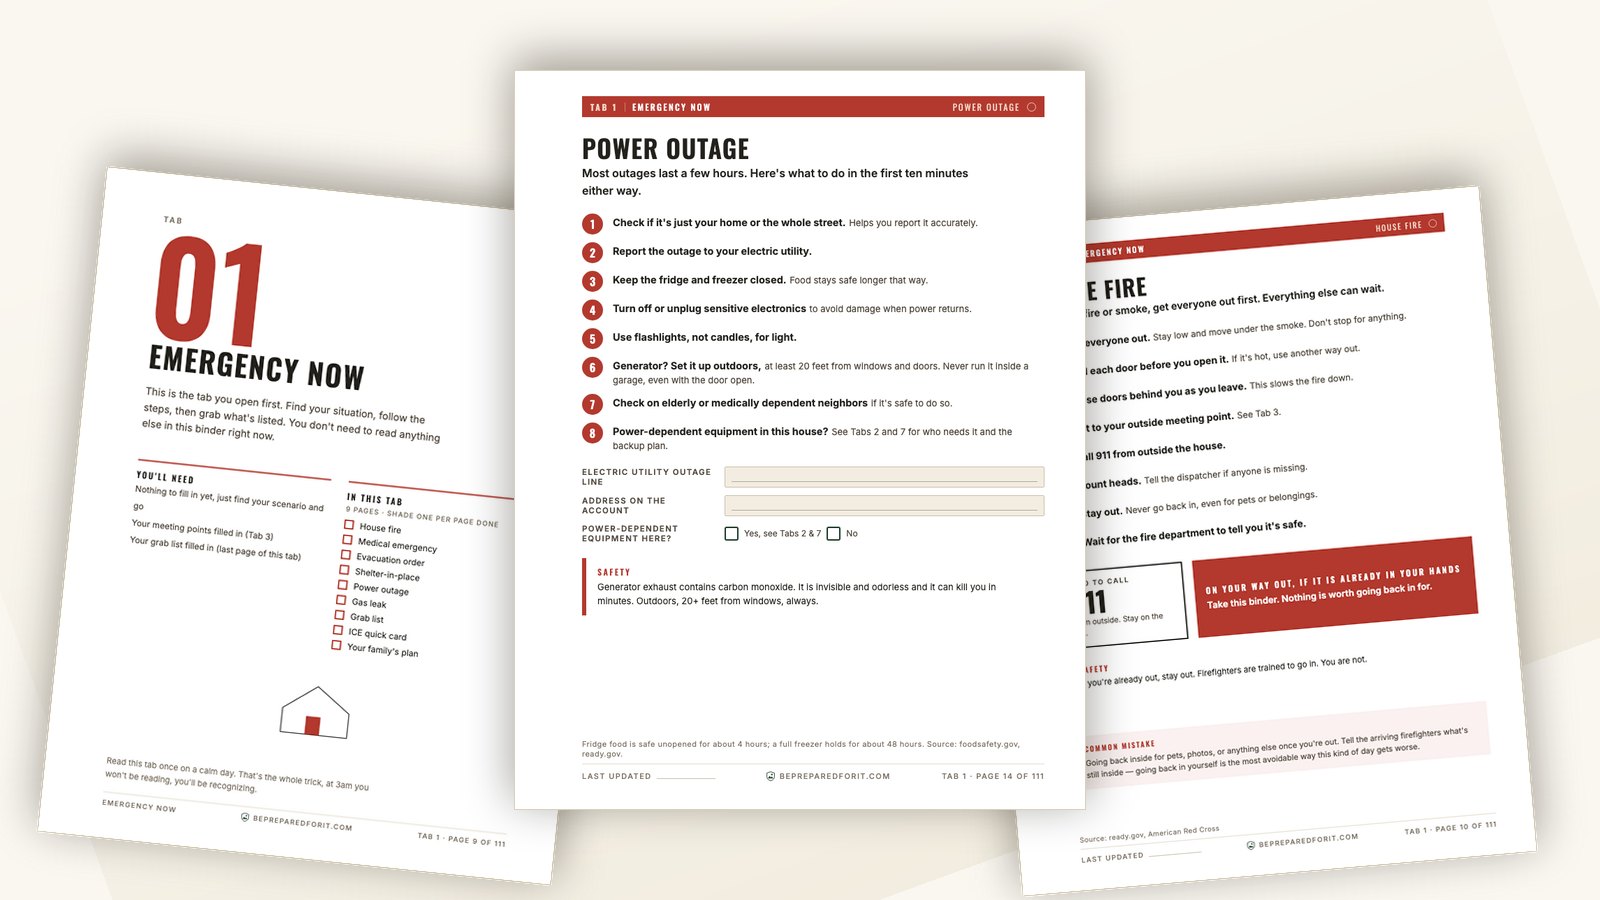
The Family Emergency Binder puts your family's contacts, documents, and plans in one place — a 15-minute quick start tonight, finished over a weekend. Join the list and we'll email you the moment it's ready, at the $19 launch price for a limited time.