In this guide
A family emergency plan is four decisions, written down: what could happen where you live, how you’ll reach each other, whether you’ll leave or stay if it does, and where your kit and documents are kept. It fits on one page and takes an evening to build.
Most families already have a kit somewhere: water, flashlights, maybe a battery radio in a closet. What they don’t have is the plan that tells everyone what to do with it. A kit without a plan just sits there until someone remembers it exists.
Step 1: Name the hazards you actually face
Every family emergency plan starts the same way ready.gov’s own plan-building process does: figure out what could actually happen to your household before you plan around it. That question changes everything that follows, so it’s worth answering honestly instead of generically.
Where you live decides most of it. Gulf Coast and Southeast families are usually planning around hurricanes and tropical storms. Northern and Midwest households lean toward winter storms and tornadoes. In the West, it’s wildfire and earthquake. Almost everywhere, add an extended power outage to the list. It’s the one hazard every region shares, and a bad storm or a grid failure can turn a few hours without power into a few days.
Pick three to five events for your own household. A family in Tampa might write: hurricane, tropical storm flooding, extended power outage. A family in Denver might write: winter storm, wildfire smoke, power outage. There’s no wrong list as long as it’s the hazards you’re actually likely to face, not every disaster a government pamphlet has ever mentioned.
Step 2: Decide how you’ll reach each other
Once you know what you’re planning for, decide how your family finds each other if you’re apart when it happens. The short version: pick two nearby meeting places, one right outside your home and one outside your neighborhood, add a third spot out of town in case a whole community evacuation splits you up, and name one out-of-town contact everyone can call, since long-distance calls and texts often get through when local lines are jammed.
We’ve already written the full version of this, including wallet cards, backup contacts, and what to do when cell towers are overloaded, in how to set up a family emergency communication plan. Build that piece before you move on if you haven’t already. Everything else in this plan assumes your family knows where to meet.
Step 3: Decide now whether you’d evacuate or shelter in place
This is the decision most family emergency plans skip, and it’s the one that actually matters once something happens. DHS frames family planning around four elements: reaching safety, contacting each other, reunifying, and having a planned response for different scenarios. That last piece really means one thing: deciding now, for each hazard on your list, whether you’re the kind of household that leaves or the kind that stays.
Leave when:
- Officials order an evacuation for your area.
- The hazard is one your home can’t shelter you from: wildfire, storm surge, or a mapped flood zone.
- Someone in your household needs power, medication, or care you can’t provide once utilities go out.
Stay when:
- The hazard is one you’re safer riding out inside: tornado, most winter storms, most power outages.
- Your home isn’t in the hazard’s direct path.
There’s no official government threshold for this call. It’s a rule you’re setting for your own household, hazard by hazard, while you’re calm. The worst time to figure out whether you’re a leave-household or a stay-household is standing in the driveway with the car already running.
The actions differ depending on which one you’re in. If you’re leaving: listen to local radio or official alerts for your route, grab the kit, grab the binder or document folder, bring pets and their supplies (don’t plan to come back for them), and only shut off utilities if officials tell you to. If you’re staying: check for injuries and check the house for damage before touching any switch, check for gas odors before using anything electrical, keep pets inside and confined, and call your out-of-town contact once, briefly, so someone else can use that circuit.
Your evacuation checklist, if you land in the leave column for a given hazard:
- Primary evacuation route, and a backup route in case the first is blocked
- Who grabs the kit
- Who grabs the binder or document folder
- Pets: who’s responsible, and what they need
- Where your utility shutoffs are, in case you’re told to use them
- Where you’re going, and who you’re telling before you leave
County emergency managers and the Red Cross teach the same rule for that last shutoff item: know where your main electric, water, and gas shutoffs are, and only turn off the gas if you’re told to, since turning it back on wrong is its own hazard. El Dorado County’s guide puts it plainly: show every family member how to shut off the utilities before you ever need to. For the water, our guide to shutting off your water main covers finding and testing the valve.
Step 4: Put your kit and documents where the plan says they are
Your plan is only as useful as the things it points to. Two of those need a home: your emergency kit and your documents.
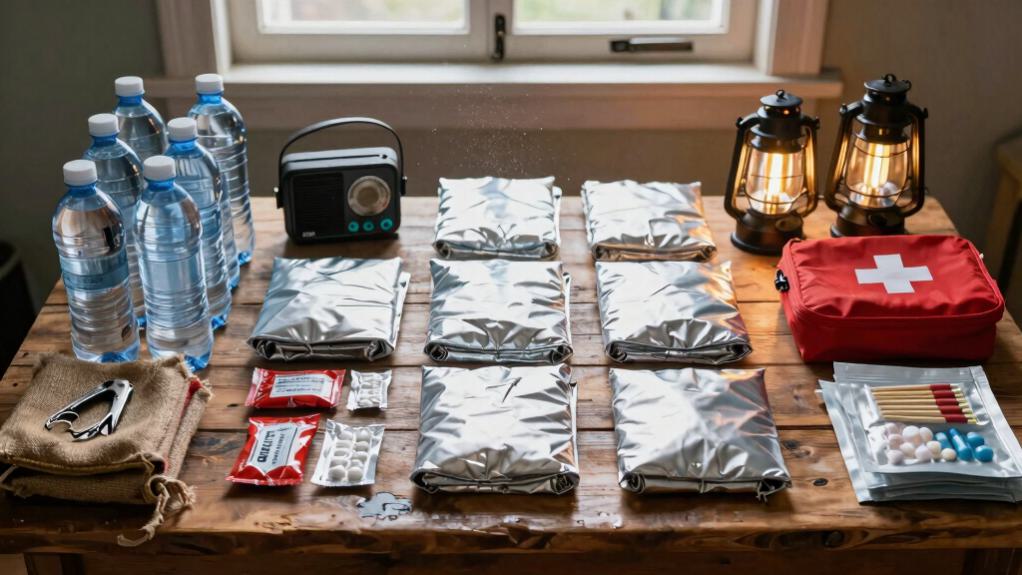
For the kit, don’t rebuild it here. We’ve already written the full 72-hour emergency kit guide on a budget, covering water, food, first aid, and the items people forget. Build that once, then just note where it lives in your plan.
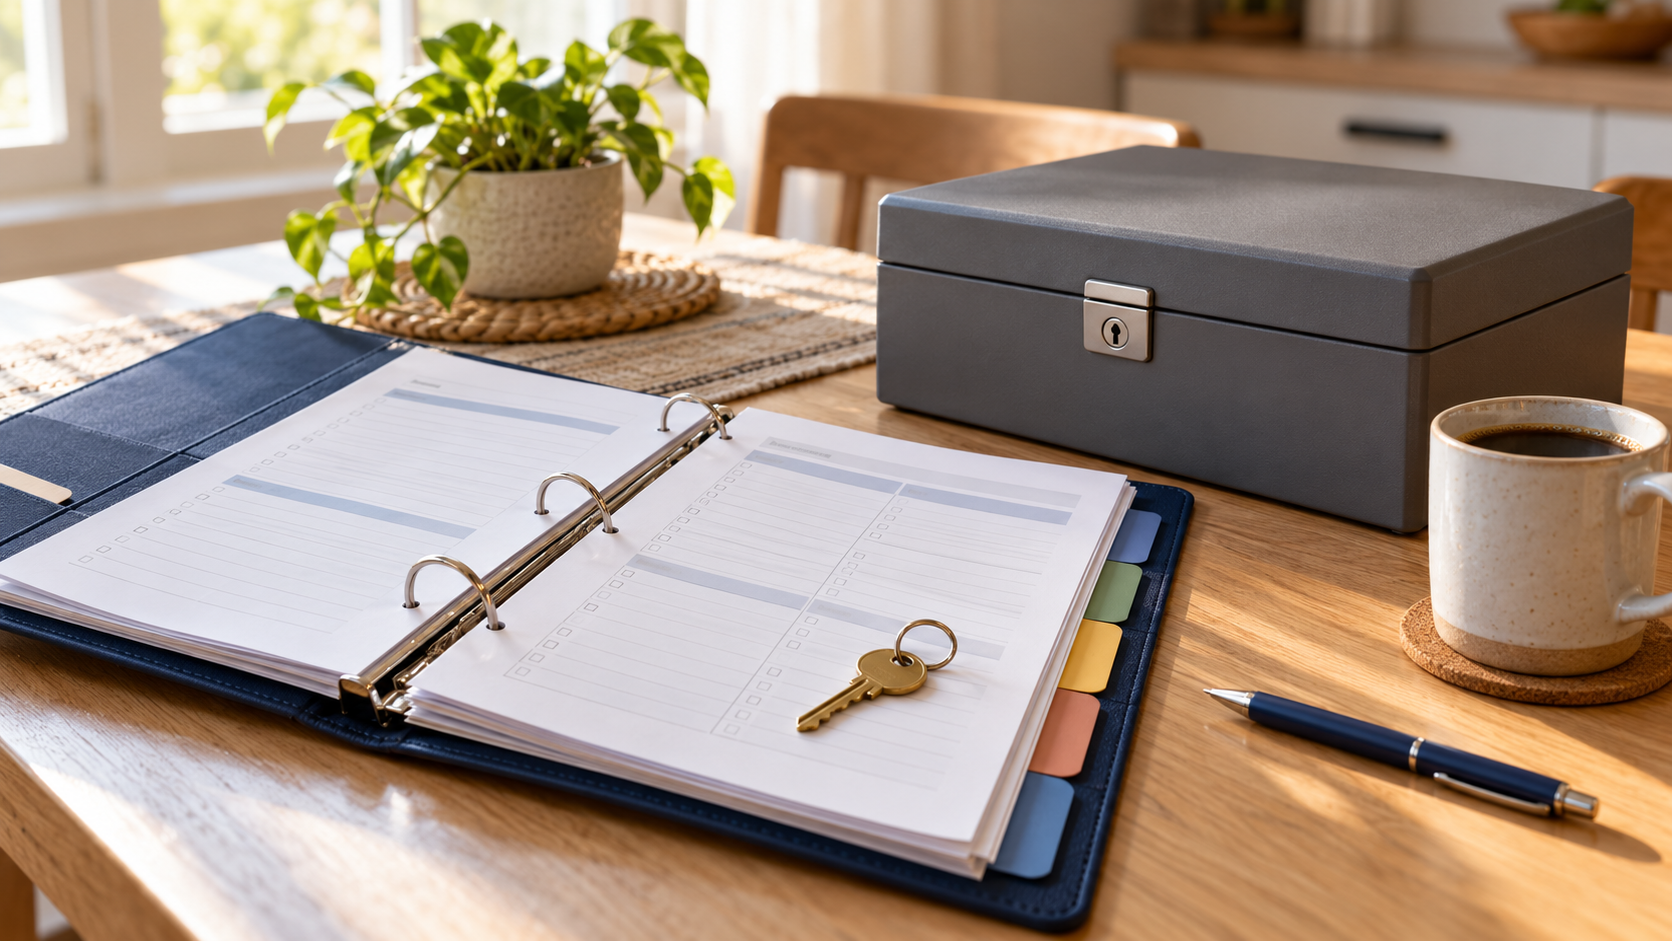
For documents, the rule is simple: your plan should say where something is, not hand over the numbers that unlock it. Passwords, PINs, and full bank or card numbers stay out. An insurance policy number is different: it isn’t a secret, and it’s how you start a claim, which is why Ready.gov’s family plan card asks for it. If a page with your plan gets lost or left in a hotel room, it should tell whoever’s helping you where things are kept, not open your accounts. A finished family emergency binder gives you a permanent place for all of this.
Step 5: Write it down, a family emergency plan template you can copy
Here’s the template. Copy it onto paper, type it into a note on your phone, or print this page and fill it in by hand. It only asks for the information you already worked out in steps 1 through 4.
Family emergency plan
- Hazards we plan for: ________________________
- Where we meet right outside the house: ________________________
- Where we meet outside the neighborhood: ________________________
- Where we meet out of town: ________________________
- Our out-of-town contact (name and phone): ________________________
- Our evacuation route: ________________________
- Our backup evacuation route: ________________________
- Where we shelter in place at home: ________________________
- Electric shutoff location: ________________________
- Water shutoff location: ________________________
- Gas shutoff location: ________________________
- School and childcare pickup plan: ________________________
- Pets (who’s responsible, what they need): ________________________
- Where our emergency kit is: ________________________
- Where our binder or document folder is: ________________________
- Date we last practiced this plan: ________________________
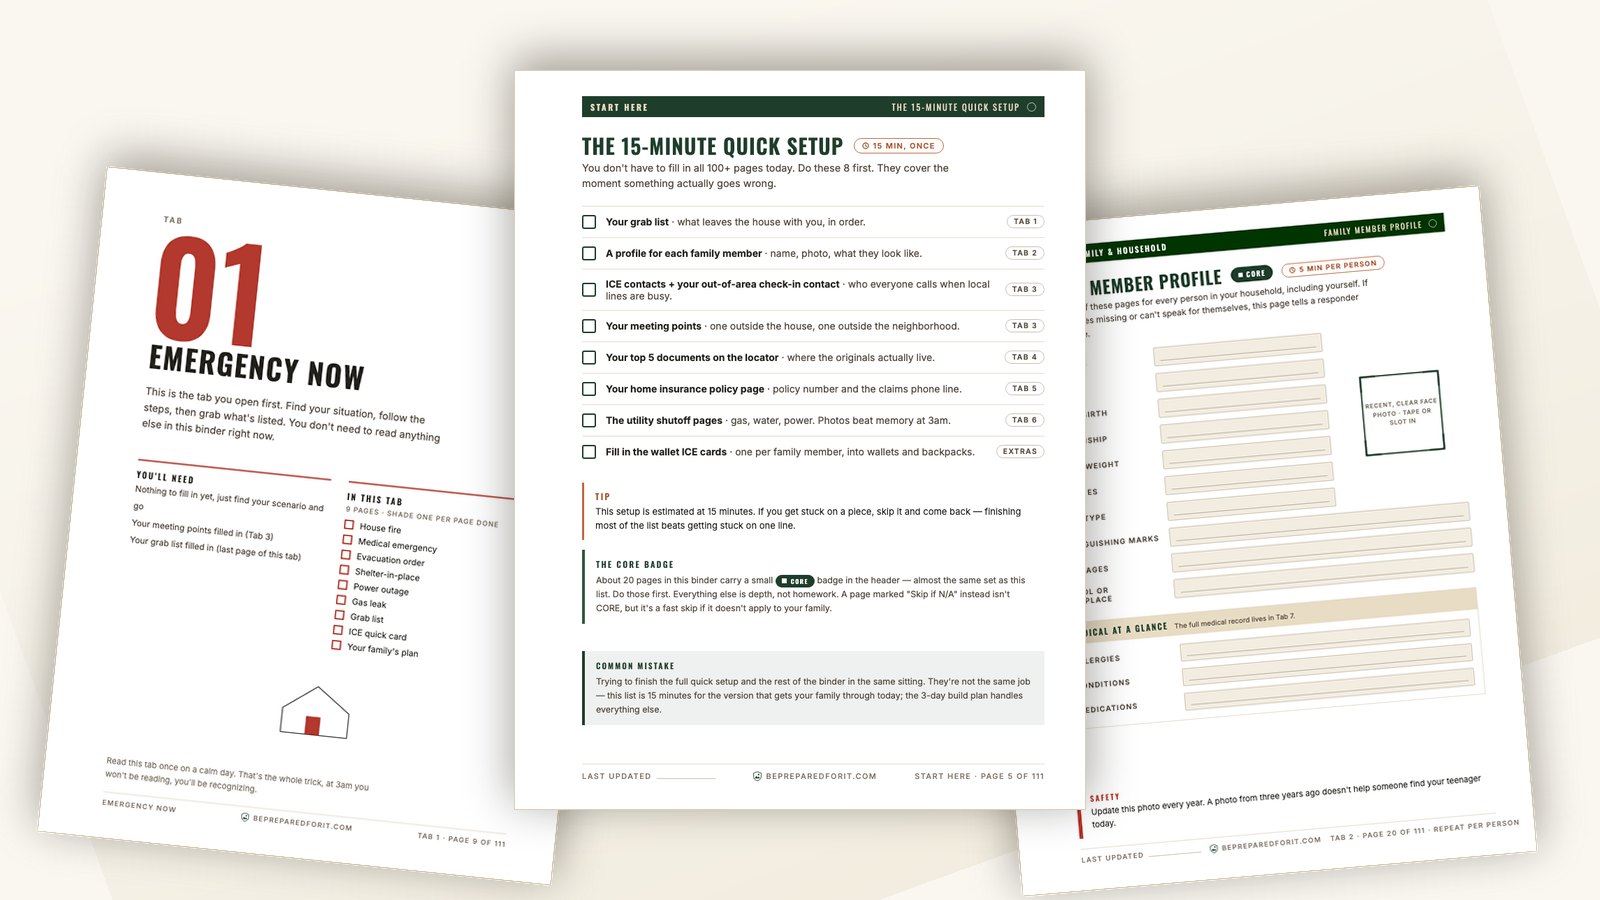
This template doesn’t rebuild your contacts and medical details. Use the Household Info Sheet in our binder template for names, allergies, medications, and insurance carrier names; this page just covers the plan itself.
Step 6: Practice it, then set the next date
A plan you’ve never run is a guess. The National Weather Service’s own mirror of the classic FEMA and Red Cross family disaster plan brochure lays out this cadence: quiz your kids on the plan every six months, run at least one full drill a year, and test smoke detectors monthly while changing the batteries annually. Replace stored water every three months and stored food every six.
None of those numbers come from a controlled study. They’re the maintenance rhythm the Red Cross and FEMA have taught since the early 1990s, and county emergency managers still teach the same thing today, which is a decent sign it holds up.
Pick your next practice date right now, before you close this page, and put it on the household calendar. A plan with no next date is a plan that quietly stops existing.
Frequently asked questions
What should a family emergency plan include?
A complete family emergency plan covers four things: the hazards you actually face, how you’ll reach each other, whether you’ll evacuate or shelter for each hazard, and where your kit and documents are kept. Write all four down in one place your whole household can find.
Is there a free family emergency plan template?
Yes. The fill-in template in Step 5 above is free, lives on this page, and asks only where things are kept, never for account or policy numbers. Copy it, print it, or type it into a note on your phone.
What is the difference between a family emergency plan and an evacuation checklist?
An evacuation checklist is one piece of a family emergency plan: the specific actions you take if you decide to leave, like grabbing the kit and choosing a route. The full plan also covers your hazards, your communication plan, and where you shelter if you’re staying instead.
How often should a family practice its emergency plan?
The Red Cross and FEMA’s classic cadence calls for a full drill at least once a year, with kids quizzed on the basics, like meeting places and contact info, every six months, and county emergency managers still teach the same numbers today. Put a specific date on the calendar instead of leaving it open-ended.
What is the difference between a family emergency plan and a communication plan?
A communication plan is the piece that covers how you’ll reach each other and where you’ll meet. It’s Step 2 of the full family emergency plan, not a separate plan. The full plan also covers your hazards, the evacuate-or-shelter decision, and your kit and documents.
When your plan is actually done
A family emergency plan is done when it’s written down, your whole household knows where it lives, and you’ve practiced it once. That’s it. You don’t need every hazard covered or a finished binder before it counts. Fill in the template above tonight, pick a practice date, and call it done.
Coming soon
The part of being prepared most families never finish
The Family Emergency Binder puts your family's contacts, documents, and plans in one place — a 15-minute quick start tonight, finished over a weekend. Join the list and we'll email you the moment it's ready, at the $19 launch price for a limited time.